Getting started with the 360 fusion interface
Preferences
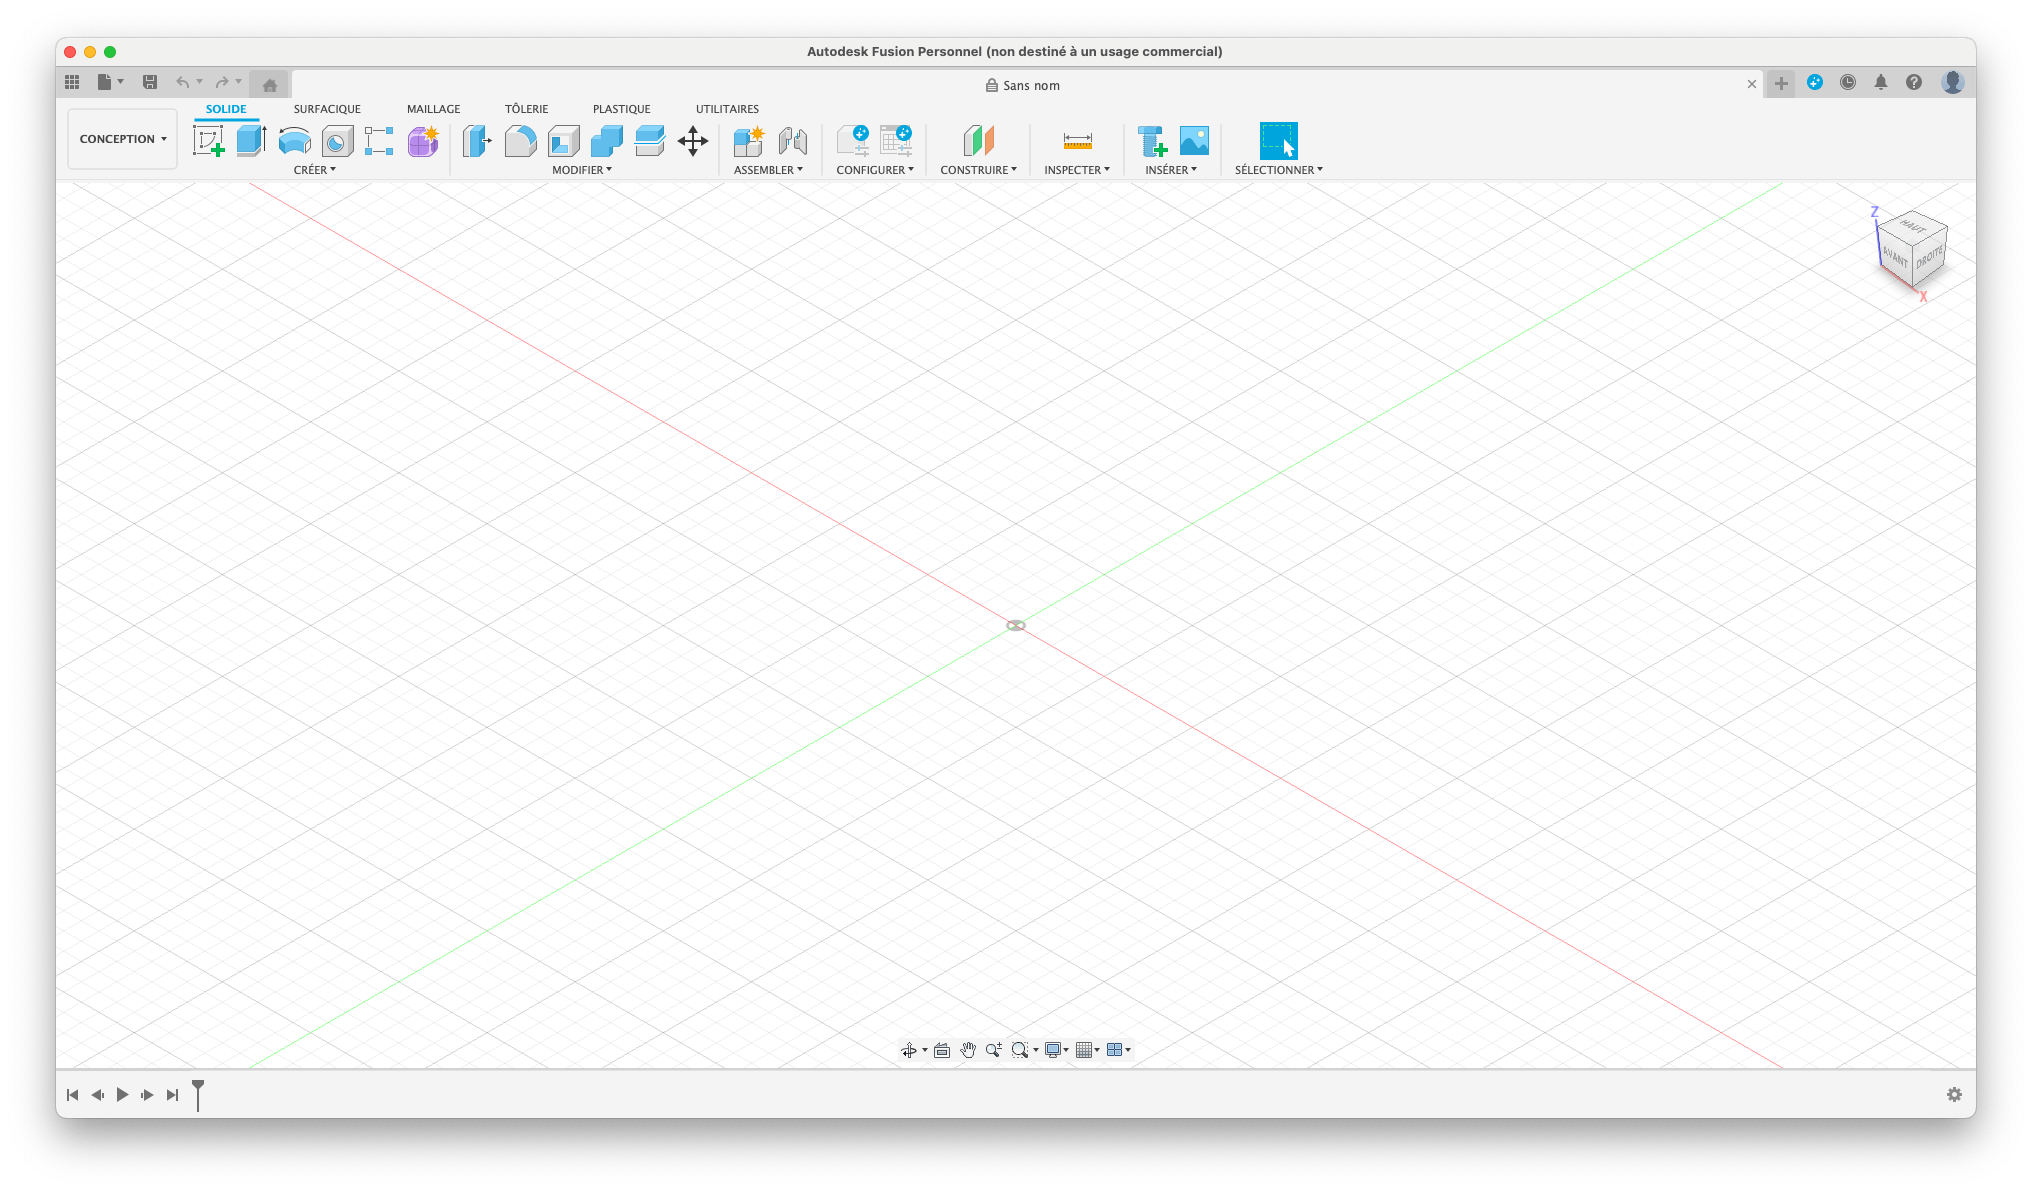
Now that Fusion is installed, let’s look at the interface.
I offer you a small settings that I find interesting.
To do this click on the icon of your account, then on “Preferences”
I find that this improves the movement and use of the mouse in Fusion.
Use of mouse
For optimal fusion use, a 3 buttons mouse is recommended.

1 - The left mouse button allows you to select objects.
2 - Allows to carry out view rotations.
3 - Allows to use the zoom.
4 - Allow the view.
360 fusion interface
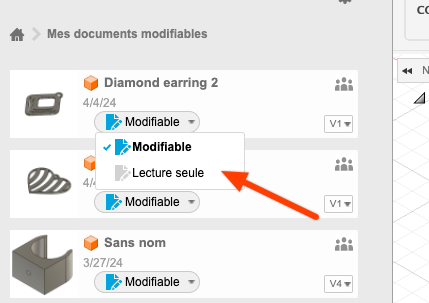
The personal version only authorizes 10 reading / writing files, to switch a reading file alone, click on “modifiable”, then “read alone”
3 - To display your projects.
This is here, where all your projects are stored, you can organize them by creating folders, import new files.
When you right click on a project, you have access to actions such as: open, rename, move, copy, delete.
To create a new design, there are several ways:
Go to the file menu
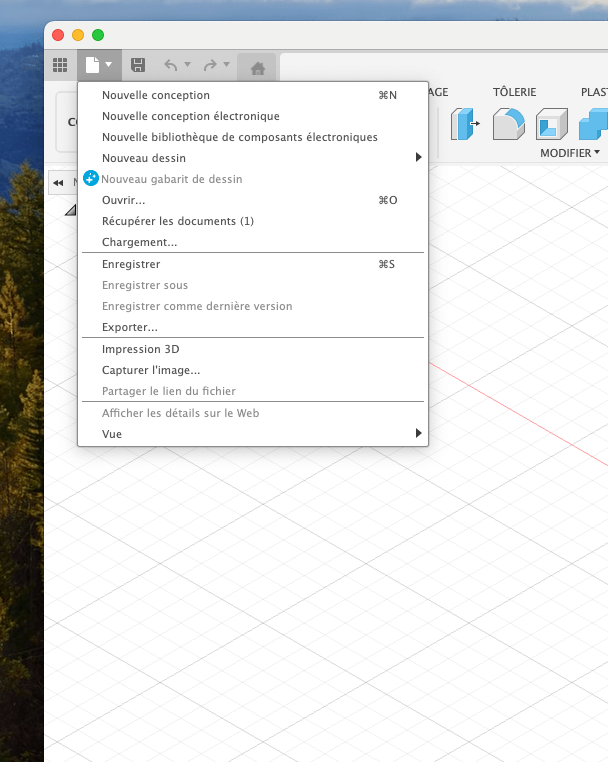
In this menu you can create a new design, open a design stored in the Autodesk cloud, load a design file (F3D) which is on your computer in the Autodesk cloud to work with, save or save under, export a design.
To leave a design, click on the cross at the top right of your design.
Workspace and toolbar
There are seven different work spaces which bring together each of the functions oriented for a certain purpose.
Some features are not available for the personal version.
Design space Design generative space Image rendering space The animation space Simulation space Manufacturing space The drawing space for the creation of plans
The tools of each of these spaces are aligned in a bar and accessible by tabs and drop -down menus.
Each toolbar is configurable according to your needs.
The default alignment of icons is very easy to modify to quickly access your favorite functions.
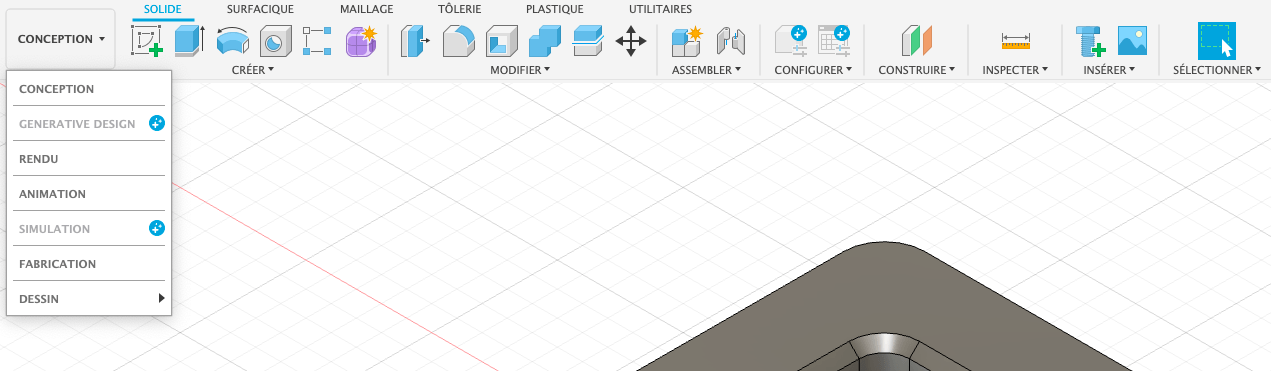
To modify your icons according to what you use most in Fusion, go to the menu then select the icon to display and click on the 3 small points (1).
Click on the check/Uncheck Fix at the toolbar to display or hide the icon in the toolbar (2).
To allocate or modify a keyboard shortcut to an icons, select the Modify the shortcut-class shortcut option … A window appears to enter a key from the keyboard that will serve as a shortcut for the function.
The project browser is a flying window that allows you to explore the hierarchy of your project.
When creating a new project, three standard drop -down menu are available: document settings, existing views, origin.
To unfold a hierarchy, click on the small triangle in front of its name.
In the document settings you find the units to use in our project, millimeters in our case.
When you pass the mouse on units an icon appears to allow you to modify the unit of the project.
In existing views, successively click on top, before, right, start to change the viewing angle on your project.
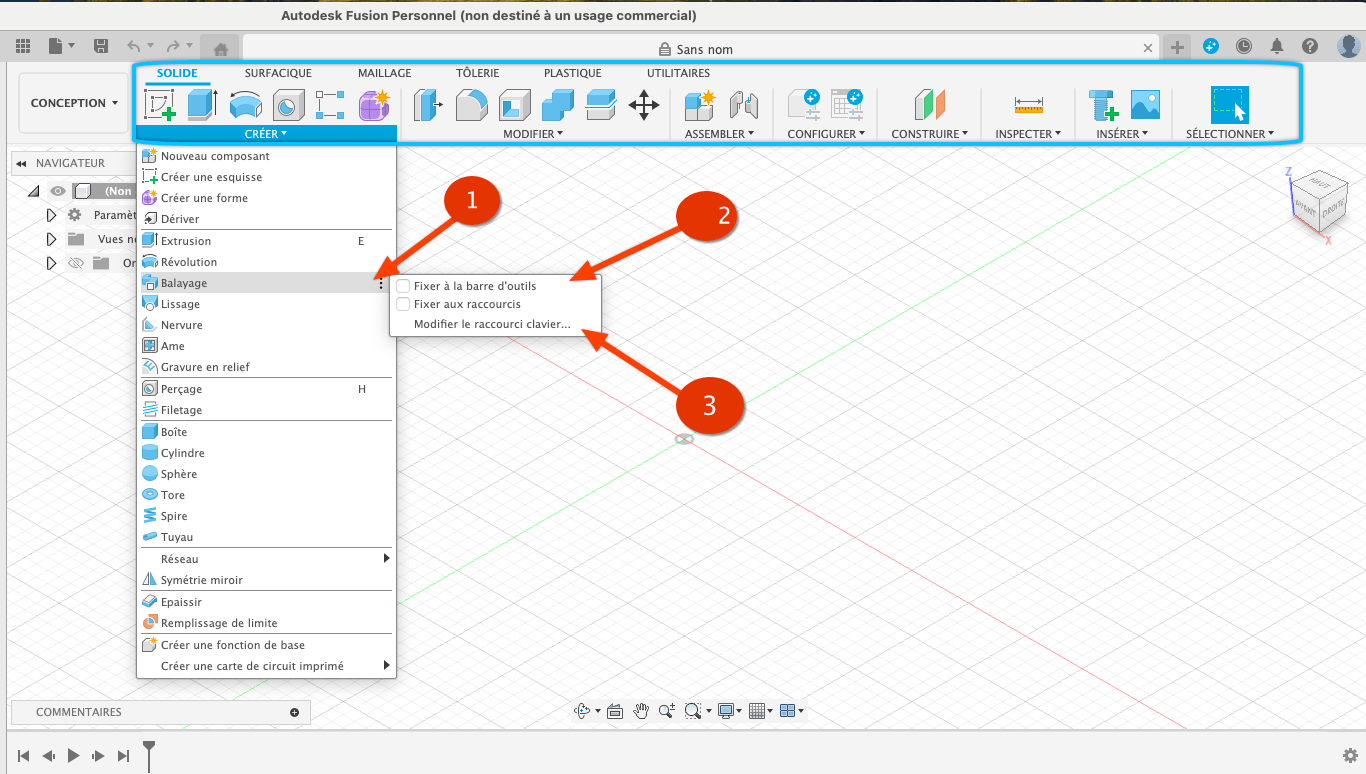
You can save a particular view, to position your view and right -click the mouse on “named views“
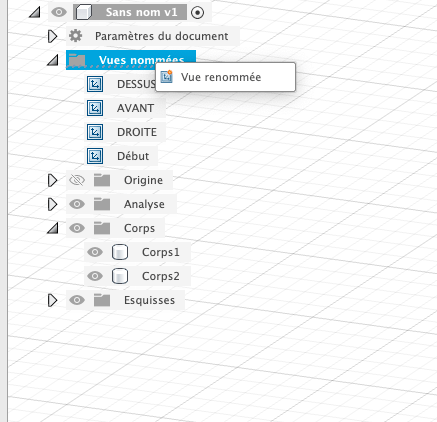
Then click on “renowned view”, a new view is added, by clicking on this view you have an option menu, which allows you to delete or rename it.
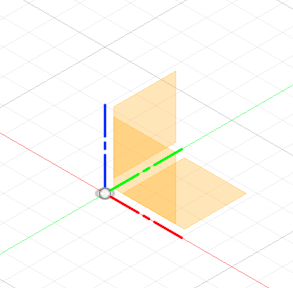
In the third submenu called origin, successively click on O, X, Y, Z, XY, XZ, Yz to highlight them in your workspace.
As the progress of the progress of your project of other hierarchy as an analysis, body, sketches, construction etc.
To display or hide one or more elements of your project, click on the eye -shaped icon.
This cube allows you to move the view, for this, click on it and hold the mouse button to move it freely in all directions.
The objects in the scene follow your movement.
By clicking on the Home button (the small house) in the top and left of the Viewcube to return to the overview of your project.
By flying over the viewcube with the mouse, certain square areas will be highlighted in blue.
Click on the upper area and the viewing angle of the project will switch to the top view.
By flying over the viewcube with the mouse, certain square areas will be highlighted in blue.
Click on the upper area and the viewing angle of the project will switch to the top view.
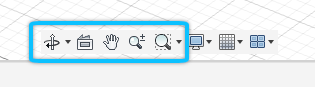
Navigation tools and visual settings

This toolbar is useful for familiarizing yourself with the different movements from your point of view to objects and different ways to see your scene.
Orbit icon
All allow you to turn around your objects as with the Viewcube, but by clicking-place directly in the workspace.
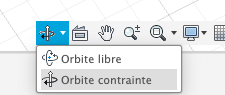
By clicking that the small triangle to the right of the icon, you access a menu for changing the type of orbit.
Watch icon
Click on an object and then look, the camera will be refocused on this object, if you click on one side, the camera will position itself on the front view.
Panoramic icon
Click on this icon, then in the workspace all by holding the left mouse button, when you moved it your scene moves according to a panoramic movement.
Zoom icon
Click on the icon, then all holding the left button of the mouse, mounted or descend the mouse, your point of view advances or decreases.
Zoom window icon
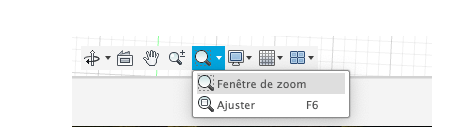
By clicking that the small triangle to the right of the icon, you access a menu with two functions.
Zoom window allows you to select an area to enlarge.
Adjusting allows you to display your completely as much as possible your work window.
In this menu you can configure the way the grid reacted
Positioning grid Show or hide the grid. Locking the positioning grid Logs or unlocks the grid. Hang the active grid or deactivate the magnetization of the grid.
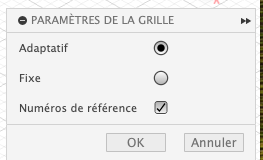
In the grid settings menu, you can configure:
Adaptive allows you to display a grid grid even with a high zoom level. Fixed lets you choose the spacing between each line of the grid, the number of subdivisions between these lines and the digital benchmark display on the grid.
Windows
Design and configuration history
This area is the timeline of your project, it fills up as your project progresses.
You can move to the “life” of your project, go back to modify a function, make a video reading of your project.
Radial menu
The radial menu is a floating menu with the most frequently used commands as well as the shortcuts that you can define by yourself with the option to fix the shortcuts of each function.
It is used to save time and quickly have your favorite tools on hand.
In addition, there is a shortcut with a mouse gesture associated with the right button.
Right -click an object in the workspace.
2 - State of the task: Give you information on current stains (update, connection with Autodesk servers and the processes you have launched there.
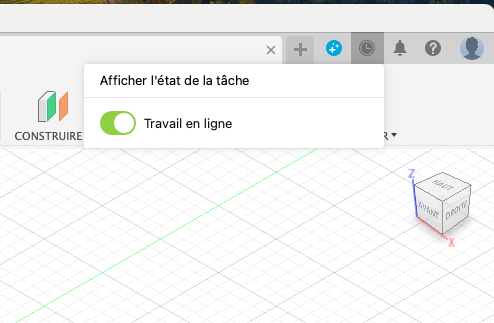
If you work offline, you will not have access to your projects, as they are saved on Autodesk servers.
3 - The notifications that Fusion sends you are located here.
In this menu you have access to documentation, a quick configuration, on the assistance menu and diagnostics, you can search for an update.
5 - your account management menu
You can manage your Autodesk account, manage fusion preferences, manage your profile, disconnect.
Good design.
