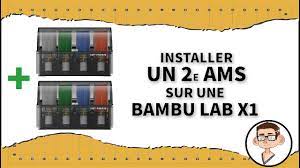
Installation of a second AMS
Introduction
This video tutorial shows you how to install a second AMS (Automatic Material System) on your 3D Bambu Lab X1 or P1P printer.
The procedure is similar for both models.
Required tools
Cruciform screwdriver
Cutching pliers (optional)
Tool to disconnect PTFE tubes
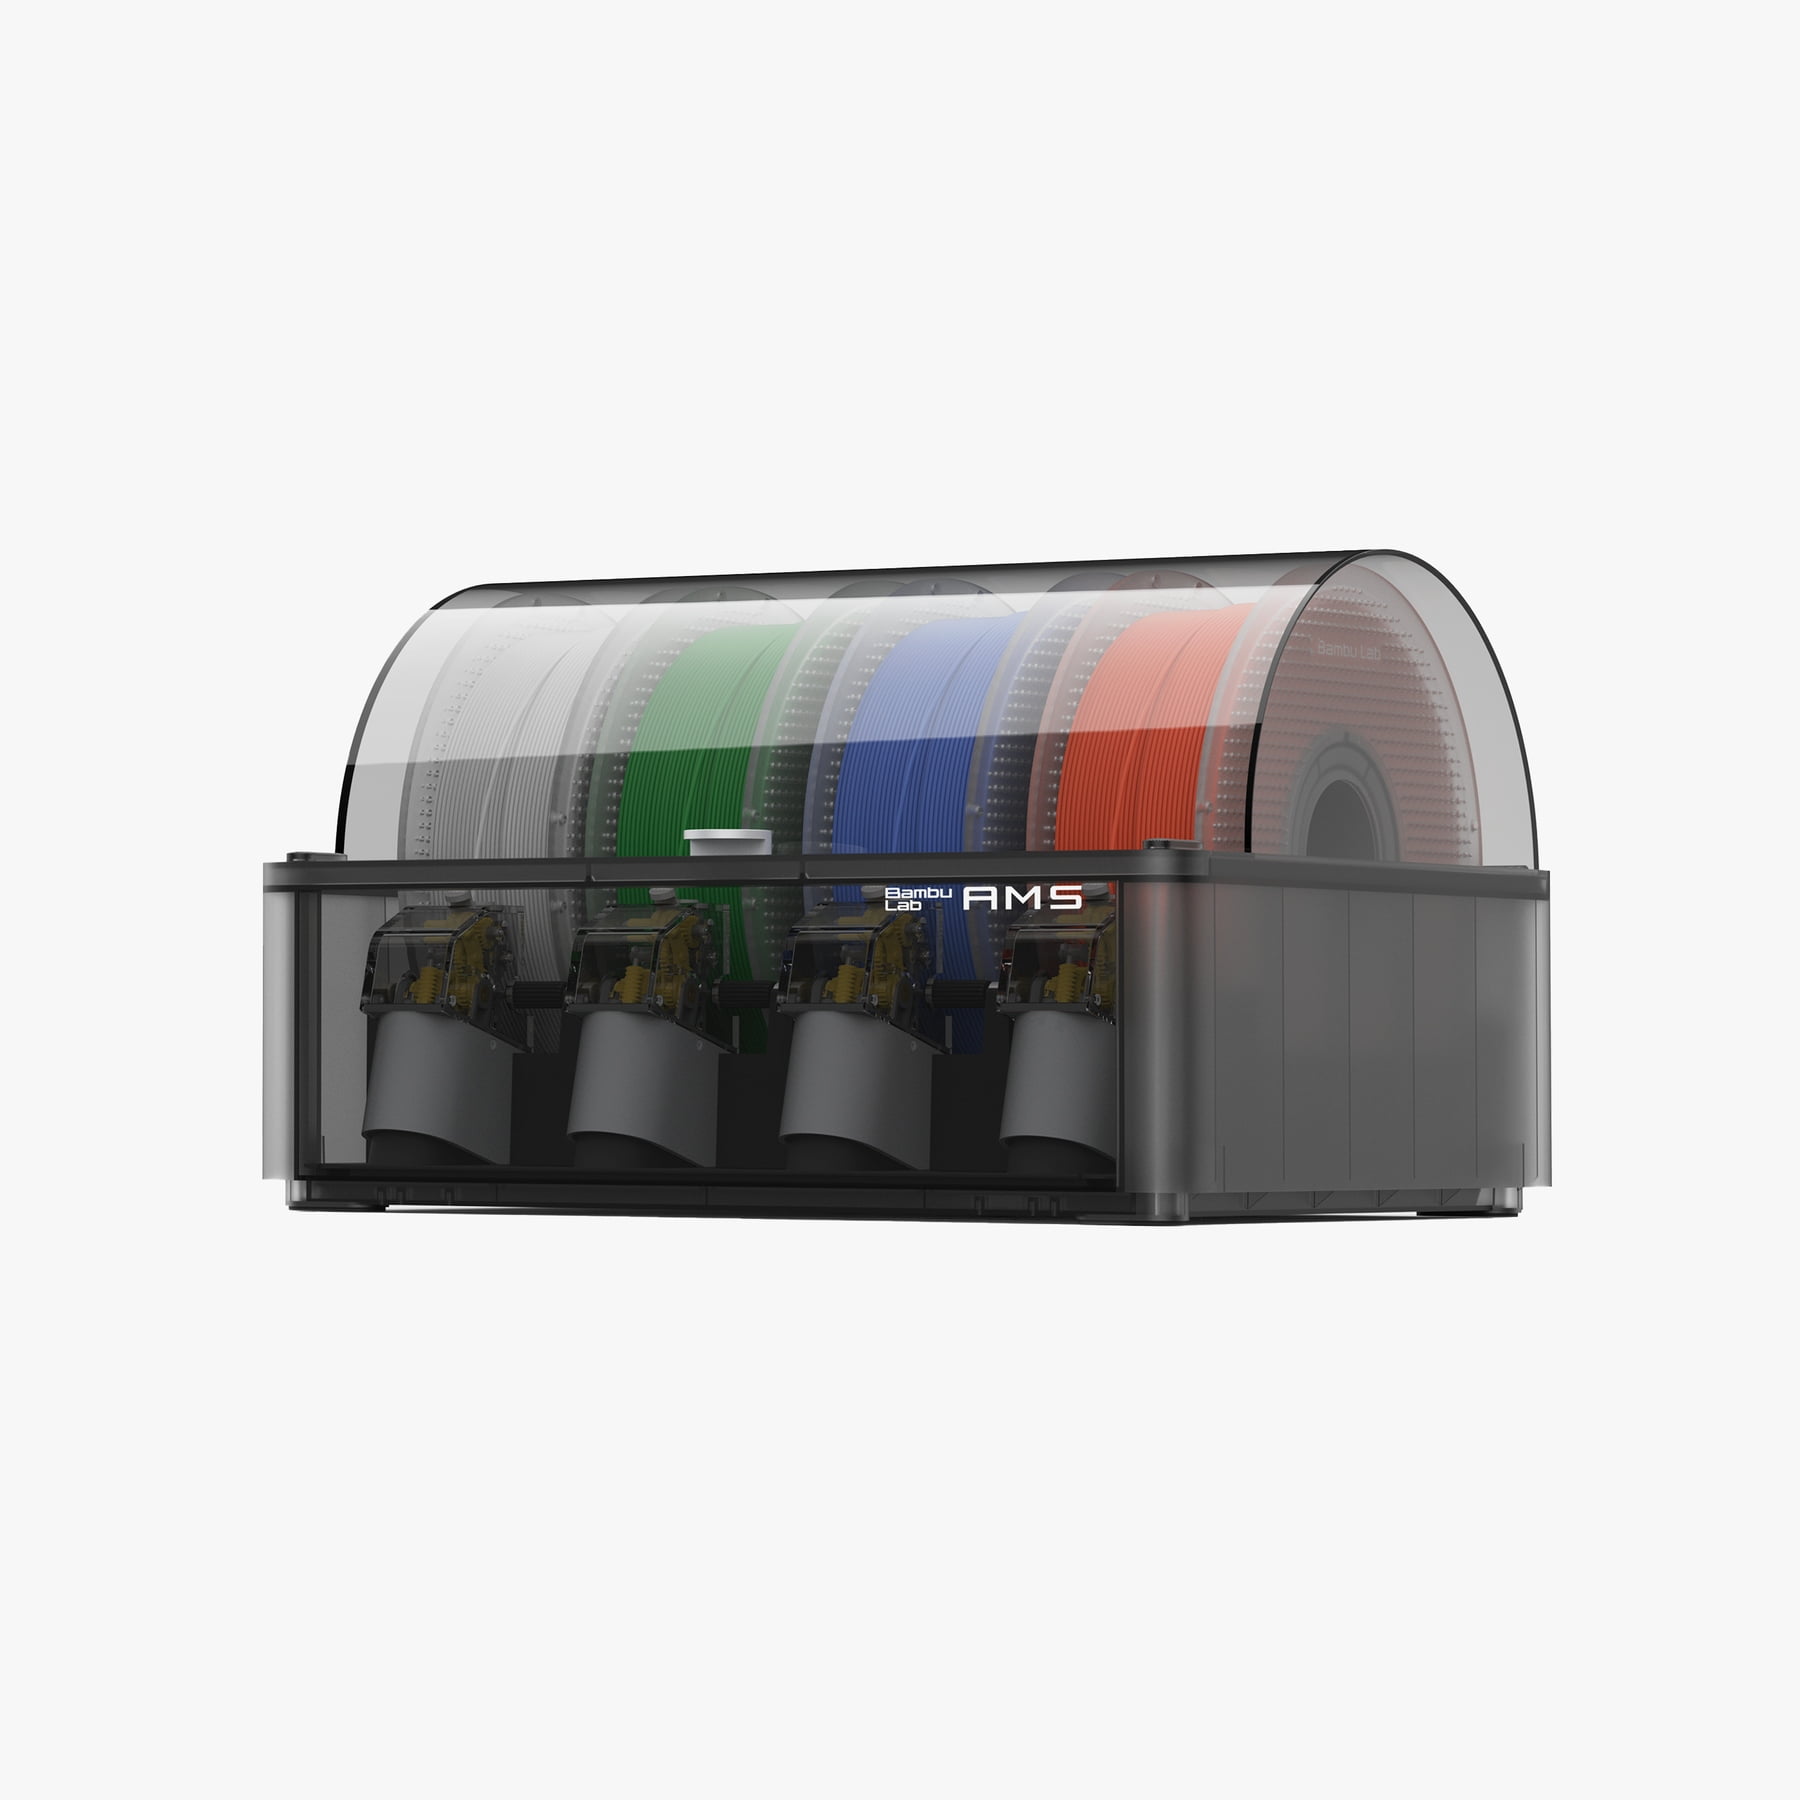
Unpack and prepare the second AMS
Remove all the protective plastics of the second AMS.
Remove the empty coils provided with the AMS.
Open the two Trappes from the AMS and remove the silica bags from their plastic packaging.
Then replace them in the AMS.
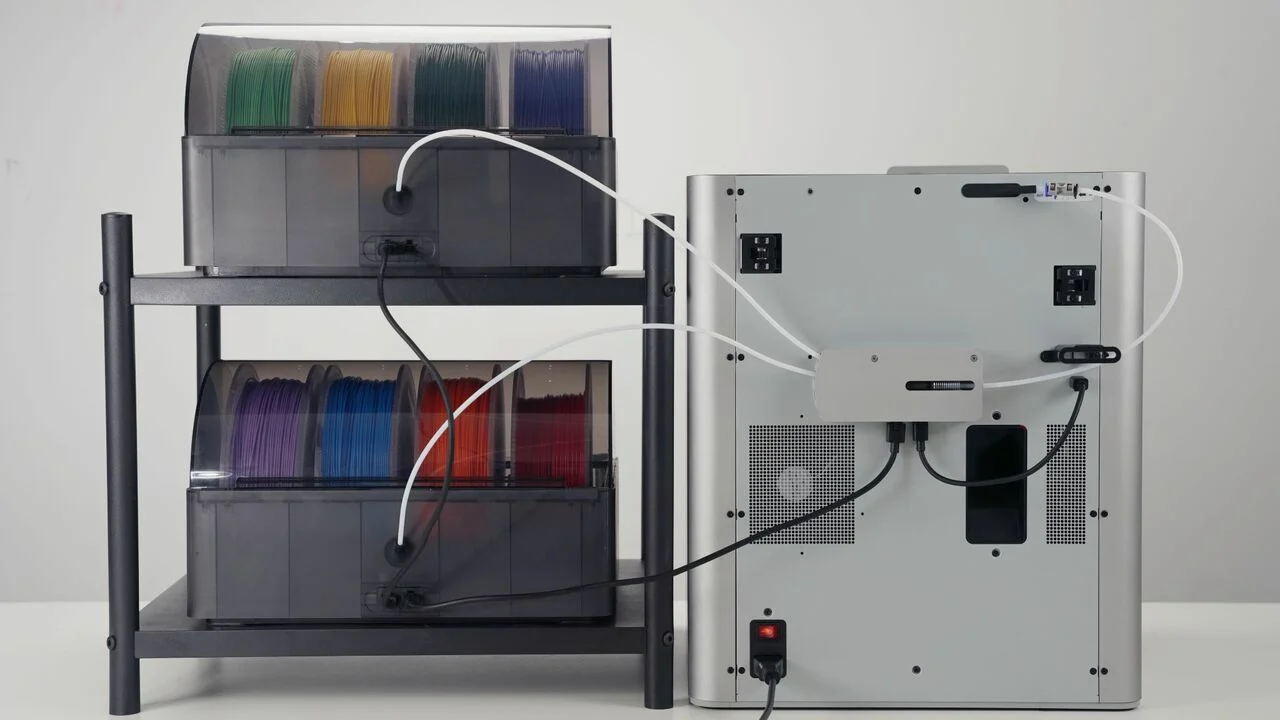
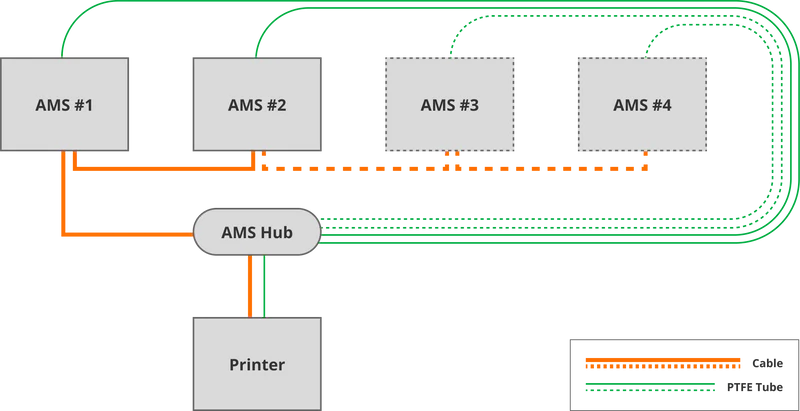
Replace the control box with the AMS hub
Unscrew the two screws that fix the existing control box.
Remove the two data cables and the two PTFE tubes from the control box.
Place the new AMS hub at the location of the control box and fix it with the two screws provided.
Reconnect the two data cables and the two PTFE tubes on the AMS hub.
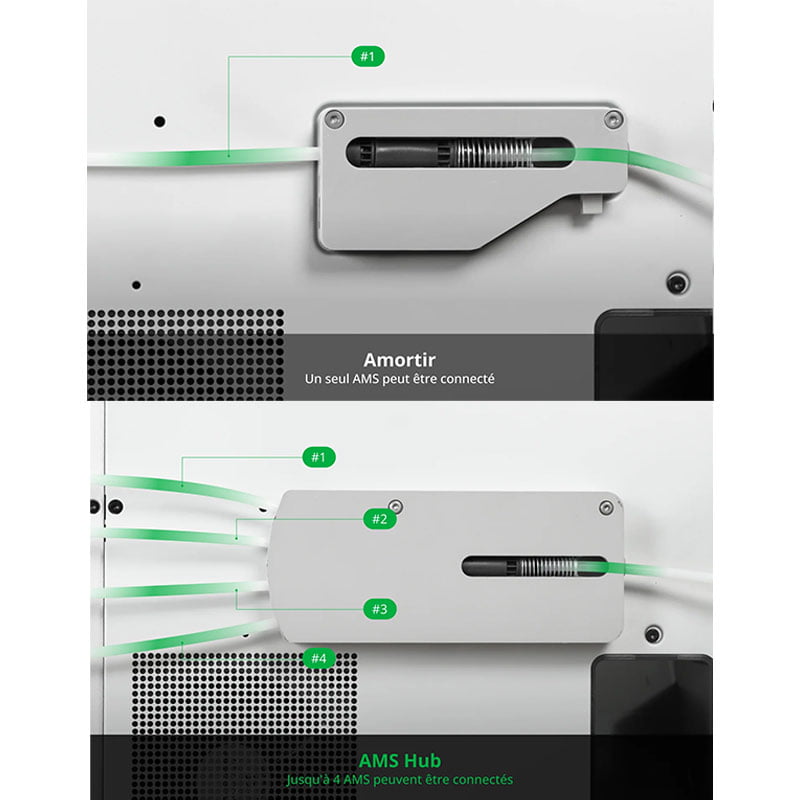
Connect the Data Cable from the second AMS to the “AMS2” port of the AMS HUB.
Cut the PTFE tube supplied to the desired length and connect it to the “PTFE2” port of the AMS HUB.
On the other side of the PTFE tube, connect it to the filament input of the second AMS.
Replace the short PTFE tube from the old AMS with the new PTFE tube connected to the AMS hub.
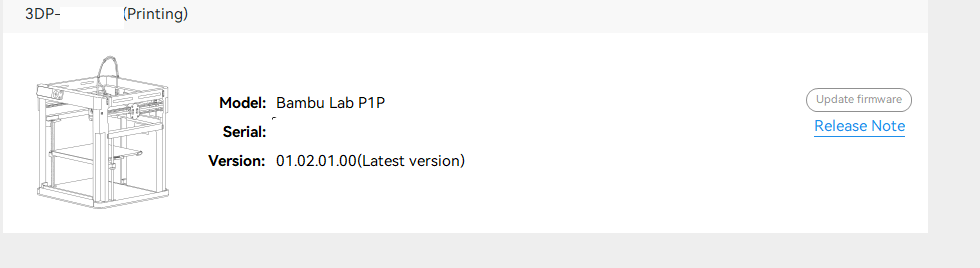
Update the firmware
Light the printer and confirm the firmware update of the second AMS.
Wait for the end of the update (about 10 minutes).
Manage AMS in the menu
In the “AMS” menu of the printer, you can now select the coil to be used from the two AMS.
Advice
Make sure the PTFE tubes are well connected and that they are not too long.
Do not forget to update the firmware of the second AMS.
You can consult the user manual for your 3D Bambu Lab printer for more information.
Conclusion
The installation of a second AMS is a relatively simple operation which allows you to considerably increase the capacity of your 3D Bambu Lab printer.