Hueforge
Hueforge tutorial with a 3D bambulab printer
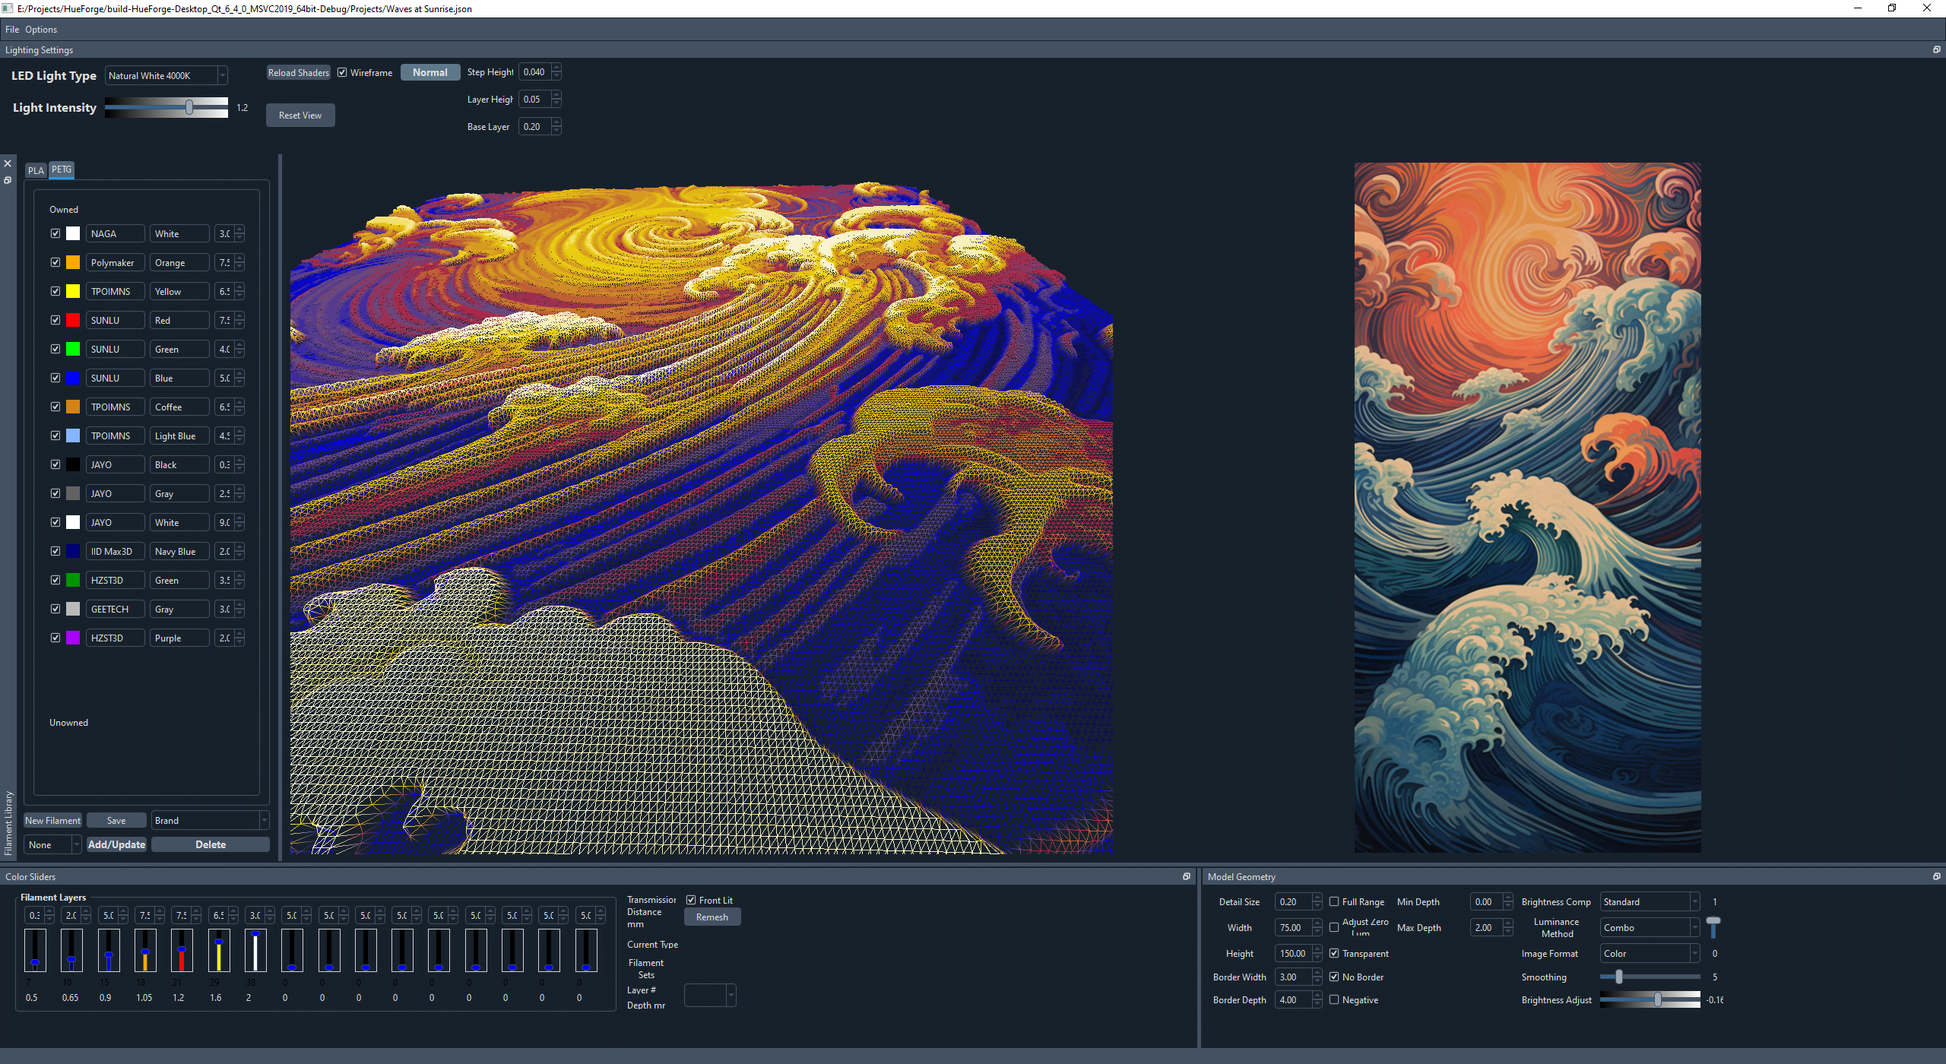
Hueforge is 3D paint software that allows you to create 3D printing objects from photos.It is compatible with most 3D printers, including bambulab printers.
This tutorial will guide you in the steps necessary to use Hueforge with a Lab bambu printer.
Prerequisite
A 3D printer
Hueforge software
A computer
Filaments of different colors
Facility
Download the HueForge software to the publisher’s website.
Import of a photo
Open the HueForge software and import a photo.You can use any photo file format, such as JPEG or PNG.
Color selection
Hueforge allows you to select up to 16 colors for your object.For this tutorial, we will use three colors: black, gray and white.
Adding colors to the object
To add a color to the object, click on the color in the palette and slide it towards the object.The color will be applied to the current layer of the object.
Repeat 4 and 5 steps to add all the colors to the object.
Printing configuration
Hueforge allows you to configure your object printing.You can define resolution, printing speed and filament type.
Exporting the print file
Once you have finished configuring printing, you can export the print file.The print file will be in G-Code format, which is the file format used by 3D printers.
Object printing
Load the print file on your 3D printer and launch printing.
Details
Import of a photo
To import a photo, click the Import button in the Hueforge interface.Select the photo you want to import and click Open.
Color selection
To select a color, click the color in the palette.You can also use the pipette to select a color in the photo.
Adding colors to the object
To add a color to the object, click on the color in the palette and slide it towards the object.The color will be applied to the current layer of the object.
Printing settings
In the print tab, you can configure your object’s print settings.The most important parameters are resolution, printing speed and type of filament.
Exporting the print file
To export the print file, click the Export button in the Hueforge interface.Select the folder where you want to save the file and click save.
Object printing
Load the print file on your 3D printer and launch printing.
Tips
To get the best results, use a photo with high resolution.
You can use filters to improve the appearance of your object.
You can also use effects to add relief or texture to your object.
Conclusion
Hueforge is powerful software that allows you to create 3D printing objects from photos.With a little practice, you can create unique and personalized objects.