Complete filament calibration guide with Orcaslicer, by Technapa
Today, we’re going to talk about a crucial subject for any self -respecting maker: the calibration of the filament.
As Technapa explains, many of us (he included!) Tend to neglect this step, by lazy or out of habit.
We launch printing with a generic profile, and PAF!
The result is far from optimal: underestrusion, failed overhangs, thong …
In short, the cat.
In her video, Technapa shows us the concrete example of a part printed in Fiberlogy PCTG-GF, with a generic profile and “big ladle” temperatures.
The result?
Pas joli joli, comme il le dit lui-même.
It is there that he reminds us of the importance of calibration, especially with technical (and expensive!) Filaments.).
Why calibrate your filament?
The objective is to obtain the best rendering possible for each coil, because each filament is unique, even within the same brand.
A good calibration avoids printing defects, optimizing the solidity of the room and saving filament (and therefore money!).
The key stages of calibration, according to Technapa
Technapa guides us through the steps he follows personally, using Orcaslicer.
He specifies that it is not an absolute truth, but a method that works for him.
The commentary space is also open to suggestions and constructive debates!
Dehydration and storage: the base too often forgotten
Before even talking about calibration strictly speaking, Technapa insists on an essential point: humidity!
A wet filament can cause many printing problems, such as “blobs”, variations in nozzle temperature and poor fusion.
He strongly recommends dehydrate the filament before each use, especially for sensitive materials such as PCTG, nylon, etc.
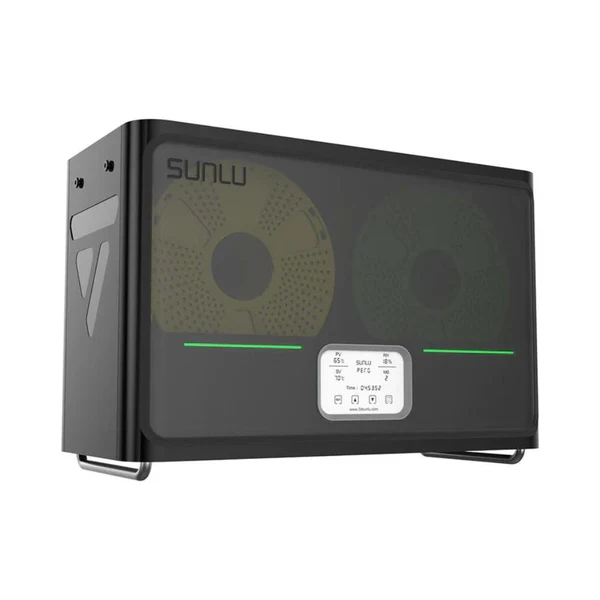
For this, several solutions exist: dedicated “dryers” (such as the Sunlu S4 presented in the video), the use of the closed box heating tray (such as the Bambu Lab X1), or the food oven (a method that Technapa does not particularly like for hygiene reasons).
Once dehydrated, it is crucial to store the filament in a dry environment, ideally under vacuum.
Temperature: the central pillar
Temperature adjustment is the most important step.
This is the starting point for any successful calibration.
Find the ideal temperature range: it starts by checking the recommendations of the filament manufacturer.
In the case of the Fiberlogy PCTG-GF, the recommended range is 250 to 270 ° C.
It adjusts the temperature parameters in Orcaslicer accordingly.
Temperature of the first layer: Technapa recommends increasing the temperature of the first layer of 5 ° C for better grip.
It is an interesting tip, which diverges from the current practice of Bambu Studio, which suggests the opposite.
It’s up to you to test and see what works best for you.
Temperature tower: Orcaslicer offers a practical tool to generate a temperature tower.
This tower allows you to print a part with predefined temperature variations.
In the video, Technapa chooses a beach of 240 to 270 ° C with an increment of 5 ° C.
He insists on the fact of touching anything else during this test.
Analysis of the tower: Once printed, the tower makes it possible to visually assess the impact of temperature on the thong, overhangs, the quality of the details, etc.
Technapa carefully observes the results and determines the optimal temperature for its filament, which in this case is 250 ° C for other layers and 255 ° C for the first layer.
Flower: adjust the amount of material
After the temperature, Technapa attacks the flow, that is to say the quantity of extruded matter.
An incorrect flow may cause the underestimation (lack of matter) or over-extrusion (excess of matter).
Test in two assists: Orcaslicer offers a speed test in two passes.
The first pass generates small plates with different flow ratios (from 0.95 to 1.05 in the example).
The objective is to identify the plate with the smoother surface, without under or over-extrusion.
Technapa notes the corresponding value (in its case, plate number 5).
Calculation of the speed ratio (first pass): A simple formula makes it possible to calculate the new flow rate from the old and the value of the chosen plate: new flow ratio = old flow ratio * (100 + value of the plate) / 100 with the values of the example: new speed ratio = 0.94 * (100 + 5) / 100 = 0.987
Second pass: the second pass refines the setting with new blocks.
Technapa observes carefully and chooses the value that seems to him the best (in his case -2).
Calculation of the speed ratio (second pass): A last formula makes it possible to obtain the final flow ratio: new speed ratio = old flow ratio * (100 - value of the plate) / 100 with the values of the example: new flow ratio = 0.987 * (100 - 2) / 100 = 0.96726 Technapa arrondisse at 0.9672 in the video.
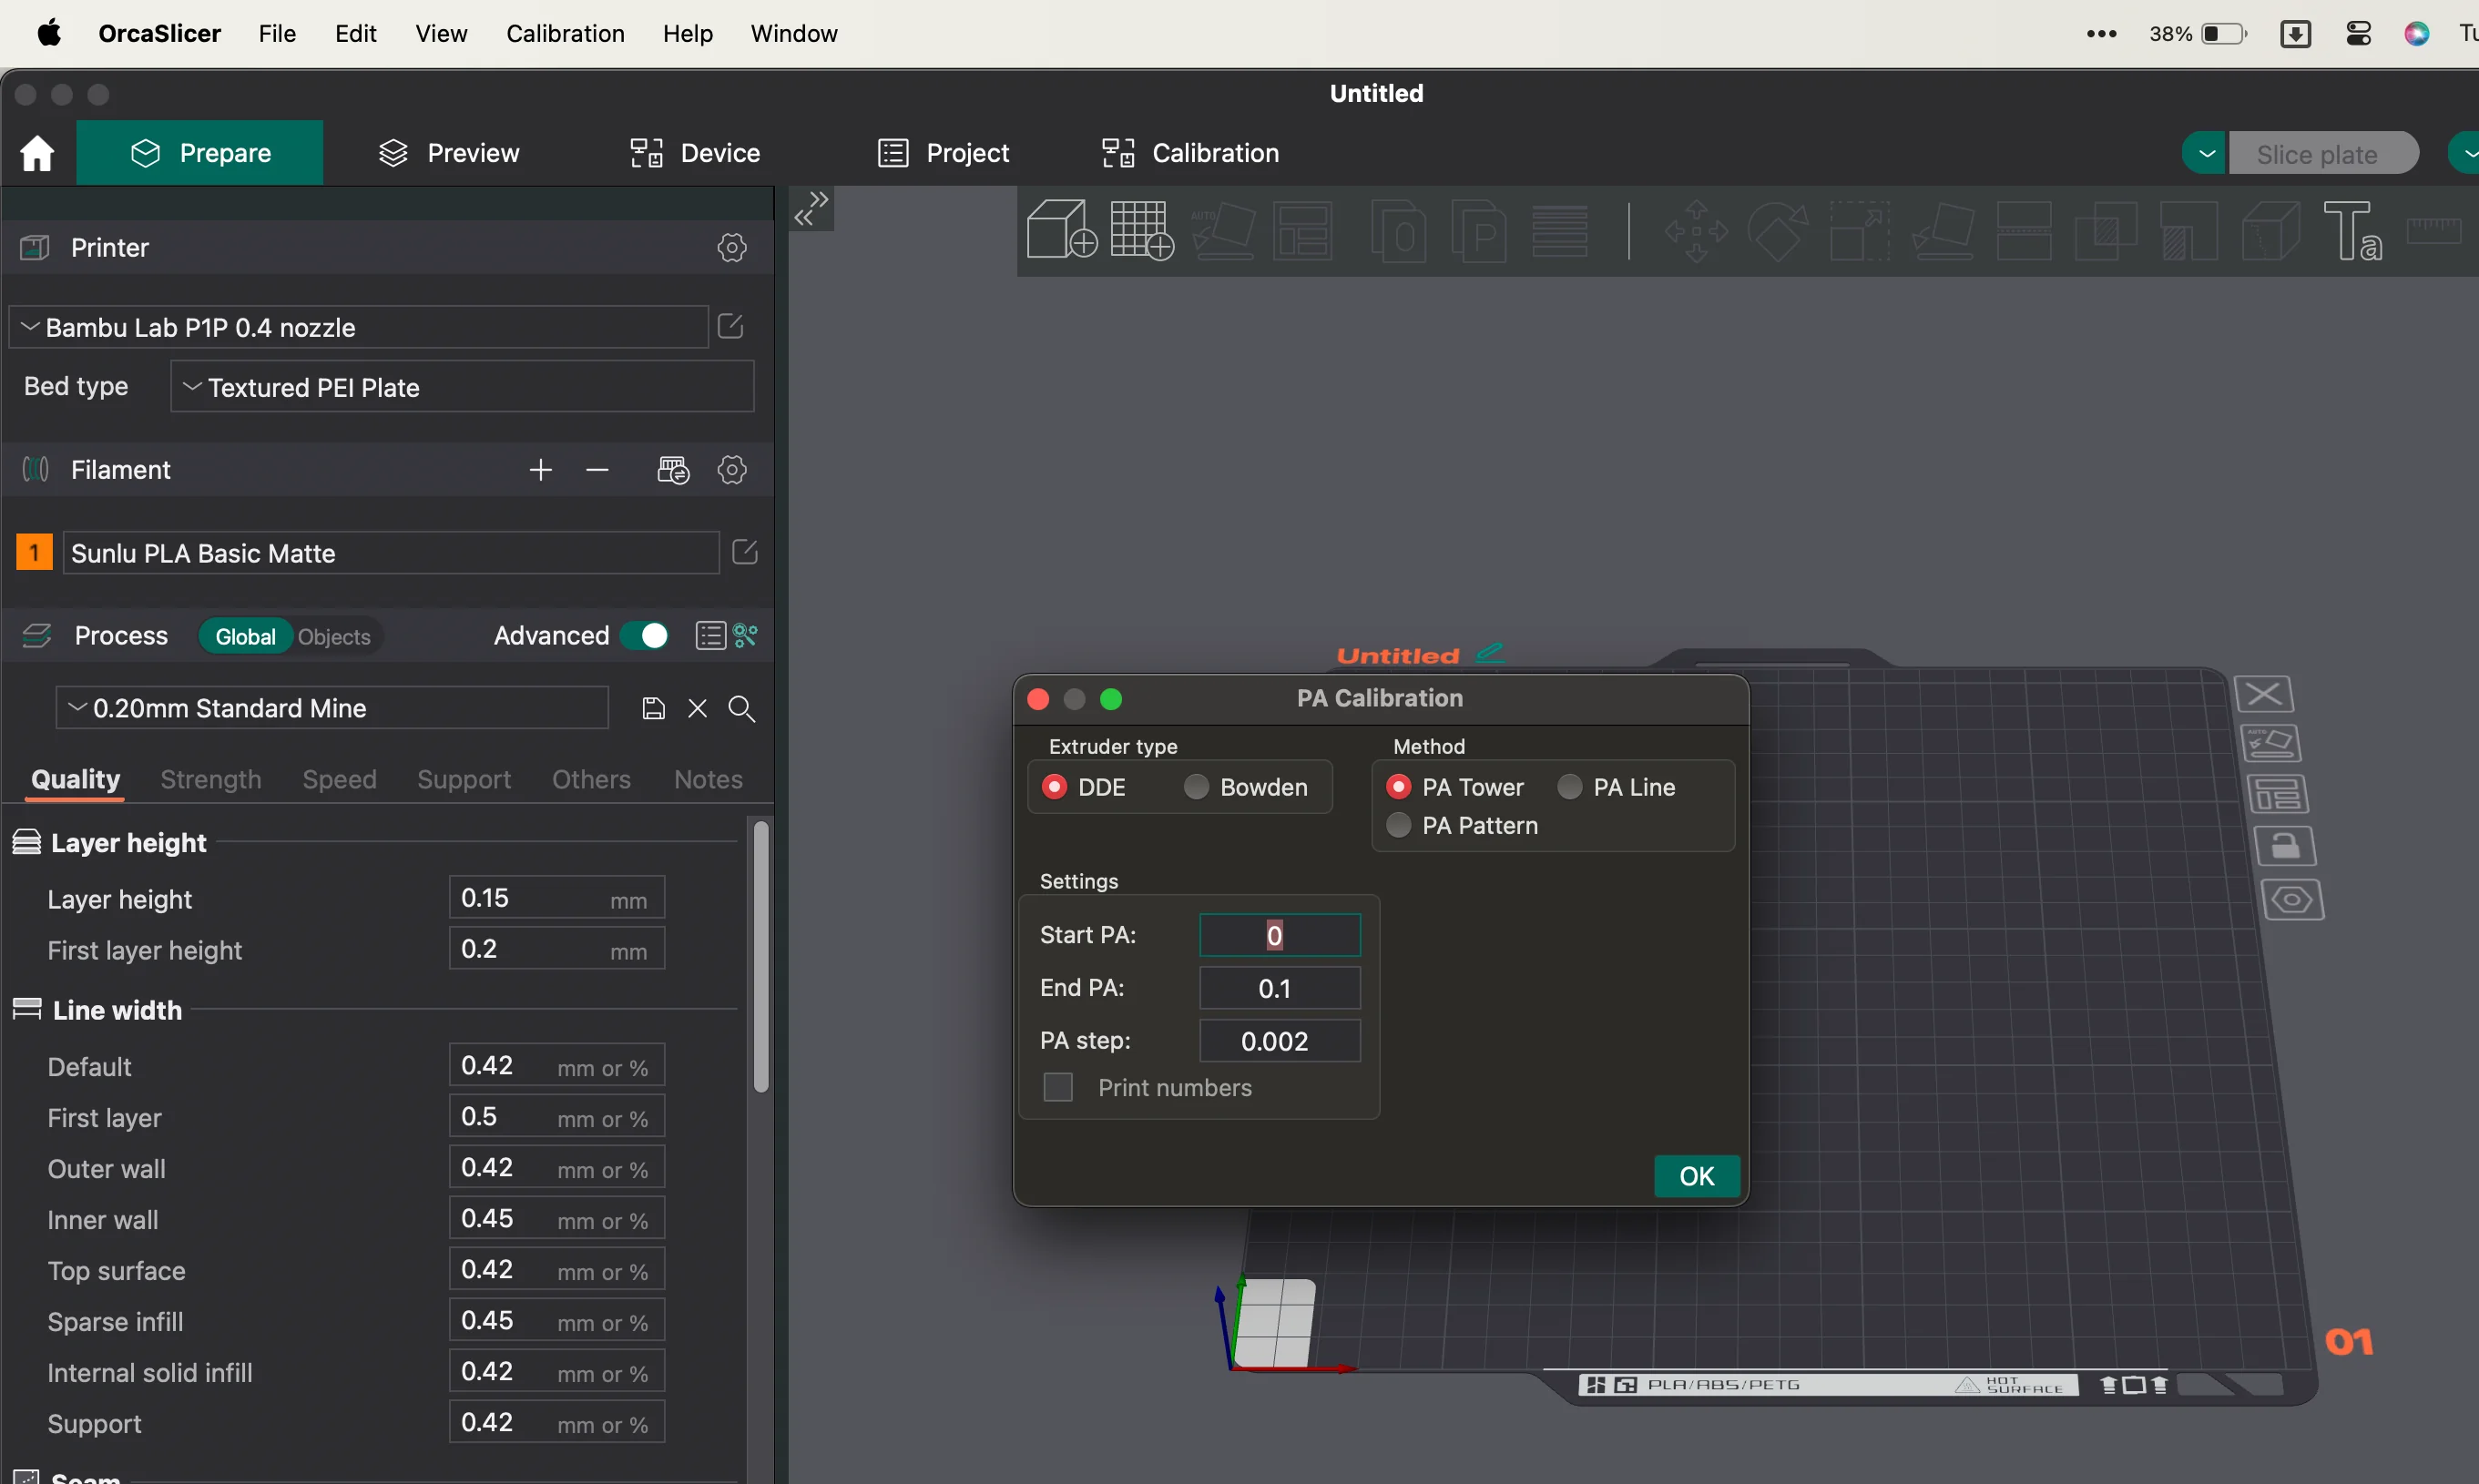
The Advance press: for net angles
“Advance press” is a feature that compensates for pressure in the nozzle during management changes, in order to obtain sharper angles and reduce defects such as “blobbing” at the corners.
Activation: Technapa activates the “Advance press” in Orcaslicer (attention, this function is not available on all printers, including certain printers under Marlin).
Test of patterns or lines: Orcaslicer offers different tests to calibrate the “Advance Pressure”.
Technapa opts for the line test, faster and less greedy in filament, but which requires a perfectly leveled tray.
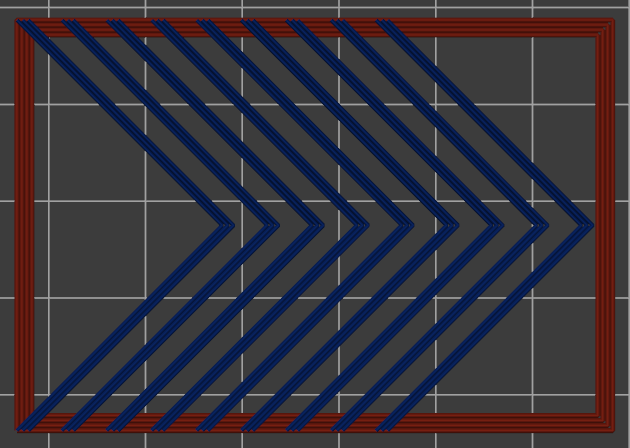
Lines analysis: The test prints a series of lines with variations in “pressing advocating”.
It is necessary to identify the most uniform line, without points marked with changes of direction.
Technapa chooses line 0.029.
Maximum volumetric speed: define the limit
This step makes it possible to determine the maximum print speed that the filament can bear without loss of quality.

Test in vase mode: Prusaslicer generate an object printed in vase mode (only one continuous wall) with an increasing volumetric speed.
Height measurement: Once printing is complete, Technapa measures the height to which printing is correct.
In his case, 13 mm.
Calculation of the maximum volumetric speed: a formula, using the measured height and the test parameters, makes it possible to calculate the maximum volumetric speed: maximum volumetric speed = volumetric speed of start + (measured height * interval) with the values of the example: maximum volumetric speed = 5 + (13 * 0.5) = 11.5 technapa chooses to enter 11 mm³/s in the parameters ofFilament to leave a small margin of safety.
Conclusion: a calibration that is worth it!
After applying all these settings, Technapa reprints its test part.
The result is clear: printing is much better, with a clear reduction in defects.
What to remember from Technapa’s method:
The importance of dehydration and storage of the filament.
Temperature as a crucial parameter.
A methodical and progressive approach, with specific tests for each parameter.
The use of Orcaslicer, which offers advanced calibration tools.
The invitation to experimentation and sharing in the comments.