
Creation of a bolt with fusion 360
Introduction
Here is an example of creating a bolt with fusion 360, a bolt is made up of a screw and a nut.
Creation of the screw
To start, created an dodge, in the center of it, created a 20 mm diameter circle and you extrude it from 10 mm.
Now you create a new sketch on the upper side of the cylinder and create a 12 mm diameter circle that you extrude 30 mm.
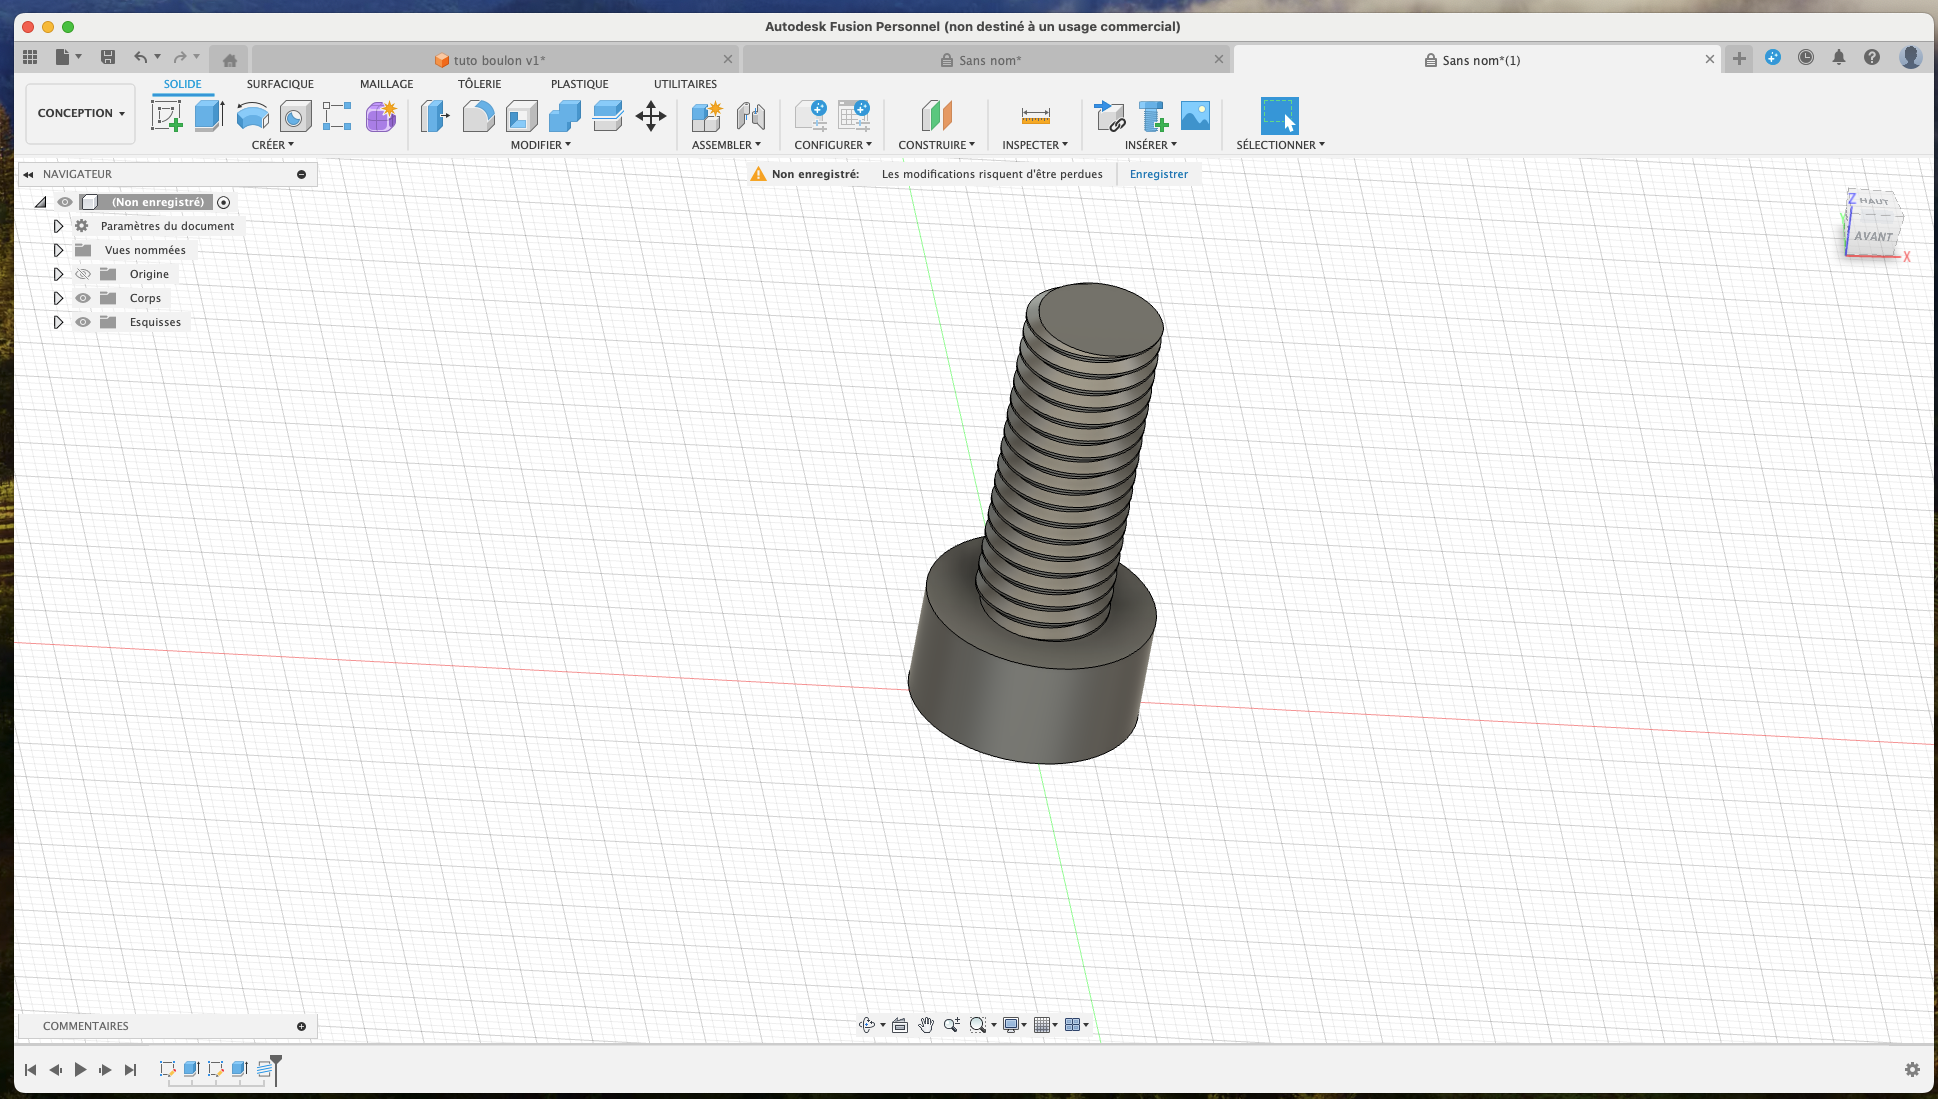
We have the base of our screw, now we must create the thread, for that select the bolt rod and use the Create and then thread menu.
In the options we can see a diameter of 12 which is the diameter of our rod.
Click OK to validate the screw.
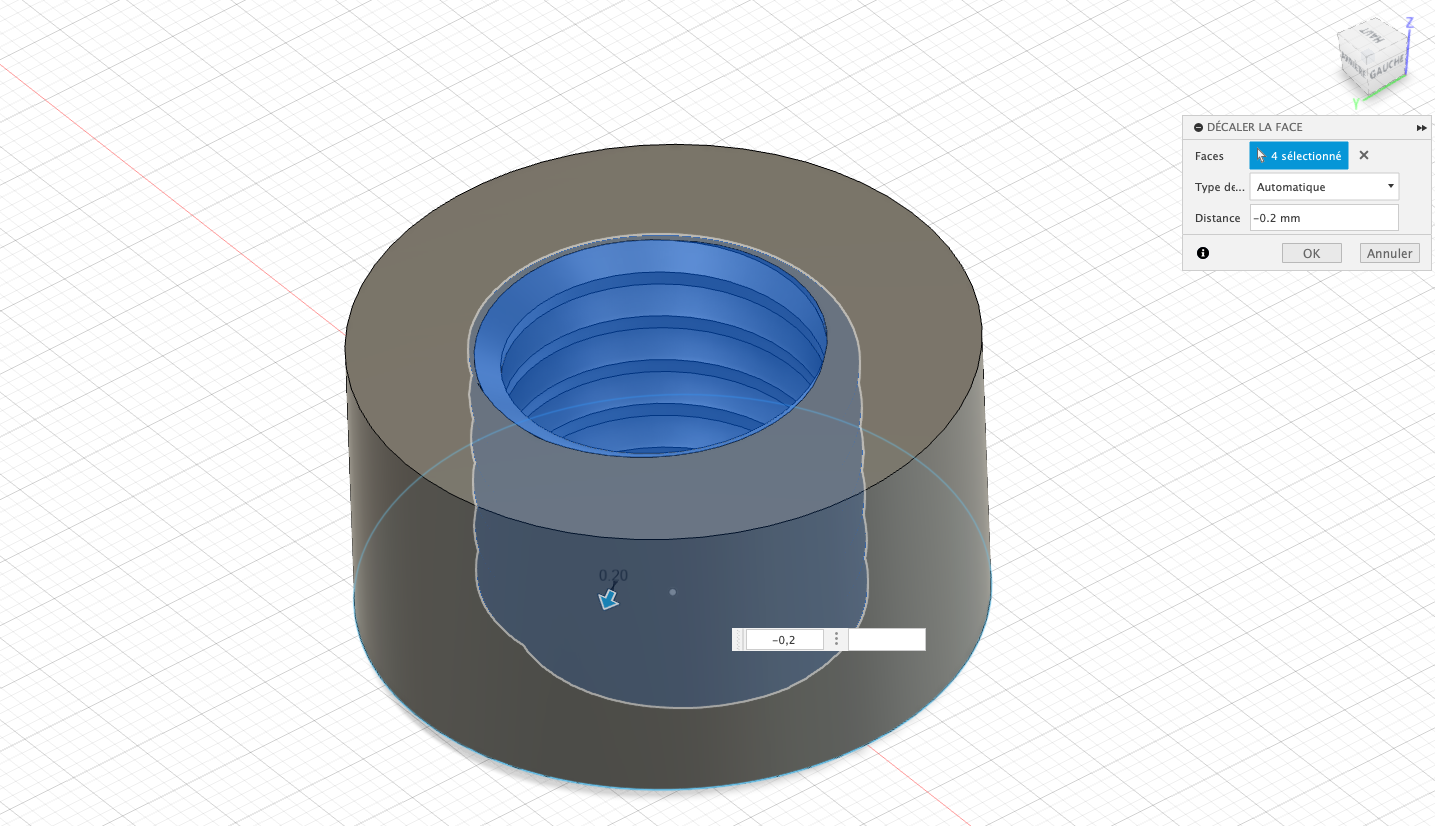
We will add tolerance so that the screw step works well, for that select the whole screw step.
This part is quite delicate, because we must not forget from the front of the screw.
Our screw is over.
Creation of the nut
For this we will modify our starting sketch, go to the timeline, select the sketch and right button to click on it and then select Modify the sketch.
Use the same options as the stem screw.
Finally we will add the tolerance, select all the screw of the nuts, once it is done in the modification menu then press/pull and entered the value of -0.2 as for the rod.
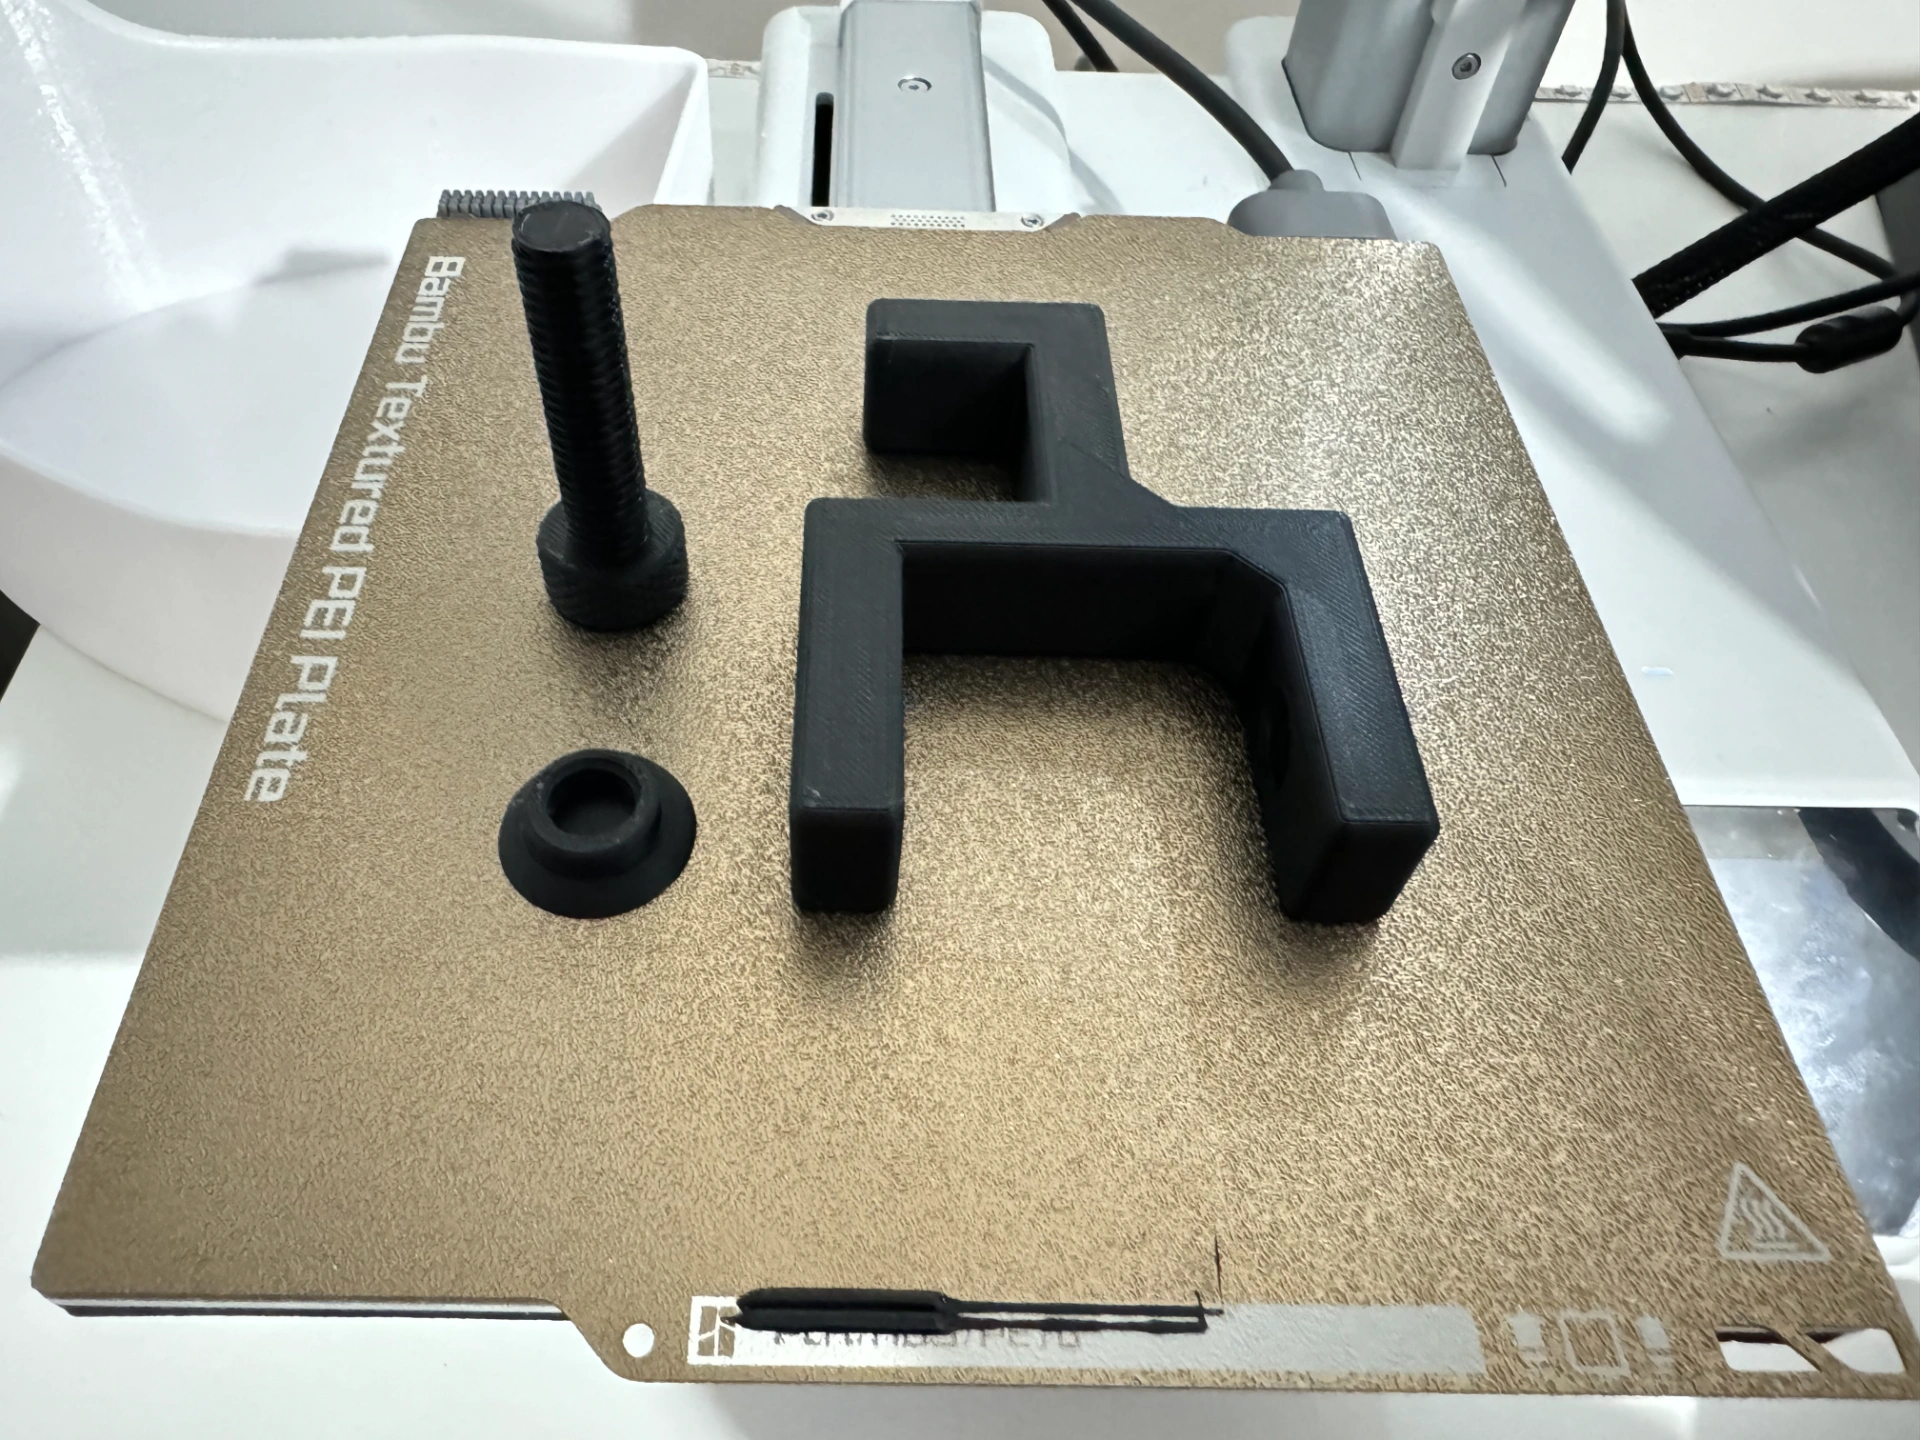
Our bolt is finished, you can improve it by chamfers.
The use of screw steps is interesting to make assemblies.
I used it to make a helmet support:
https://makerworld.com/en/models/130230#profileId-141251
Good modeling and printing.