Unlock, maintain and replace the extruder
Introduction
This complete guide shows you how to disassemble, clean, lubricate and replace the extruder of your 3D Bambu Lab printer (X1C, P1P/S).
These operations may be necessary if you meet:
- Extrusion problems
- Filament stuffing
- An underside
- An abnormal noise of the extruder
- Gear wear
Required tools
For maintenance
- 2 mm allen key
- Cruciform screwdriver
- Tweezers (optional)
- Isopropyl alcohol
- Used toothbrush
- Ptfe lubricant
- Clean cloth
For replacement
- New extruder (if necessary)
- Disassembly accessory (optional): [Makerworld] (https://makerworld.com/models/224756)
Preparation
Before you start
- ** Unload the filament ** from the extruder
- ** Turn off the printer ** and disconnect it from the sector
- ** Wait until the nozzle and the heating tray ** cool completely
- ** Remove the hotel ** if necessary
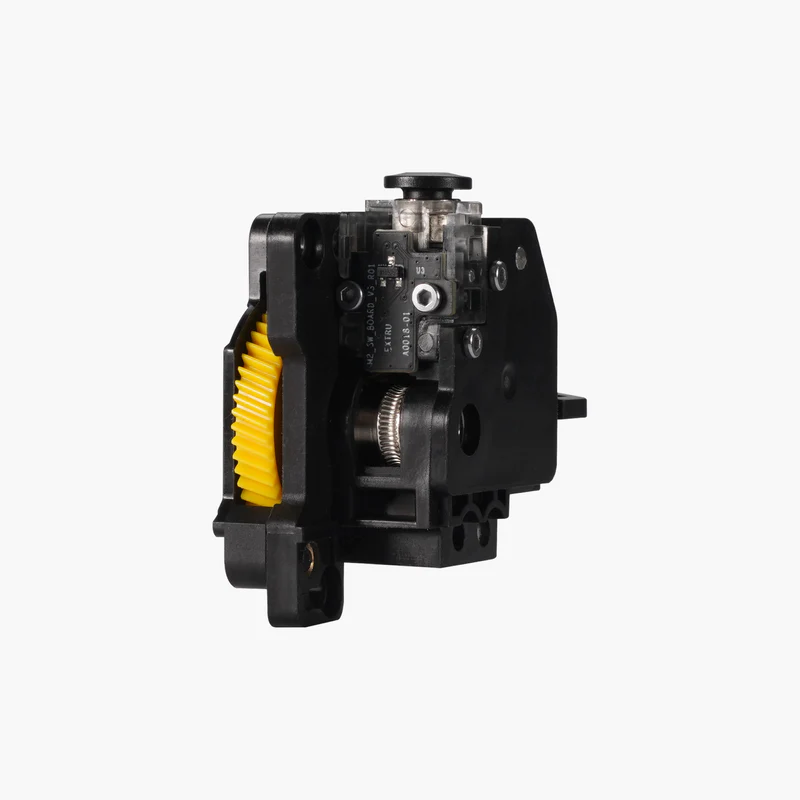
Remove the printer extruder
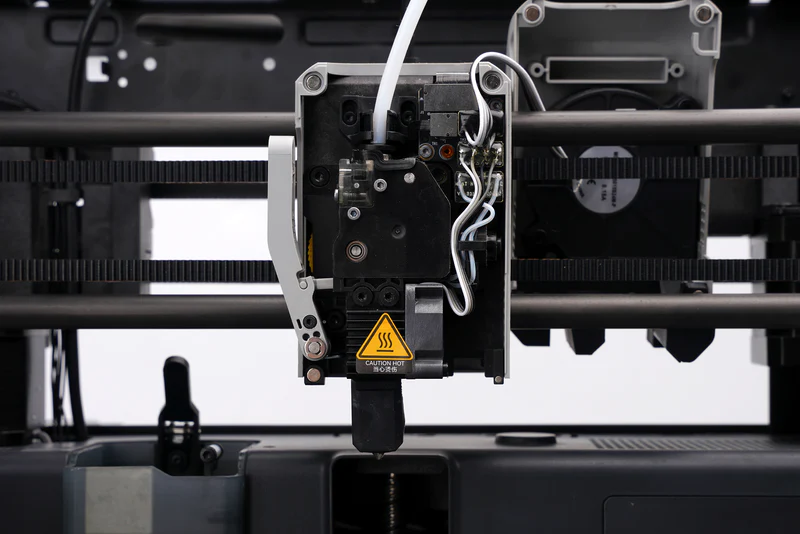
Step 1: Access the extruder
- Wait until the print head is cold to start the work
- Remove the cache from the print head
- Gently disconnect the cables
Step 2: Disassembly
- Remove the 3 screws using the 2 mm Allen key
- Disconnect the Card extruder cable
- Remove the printer extrude
Extruder interview
Dismantle
- Remove the four screws which fix the upper cover of the extruder
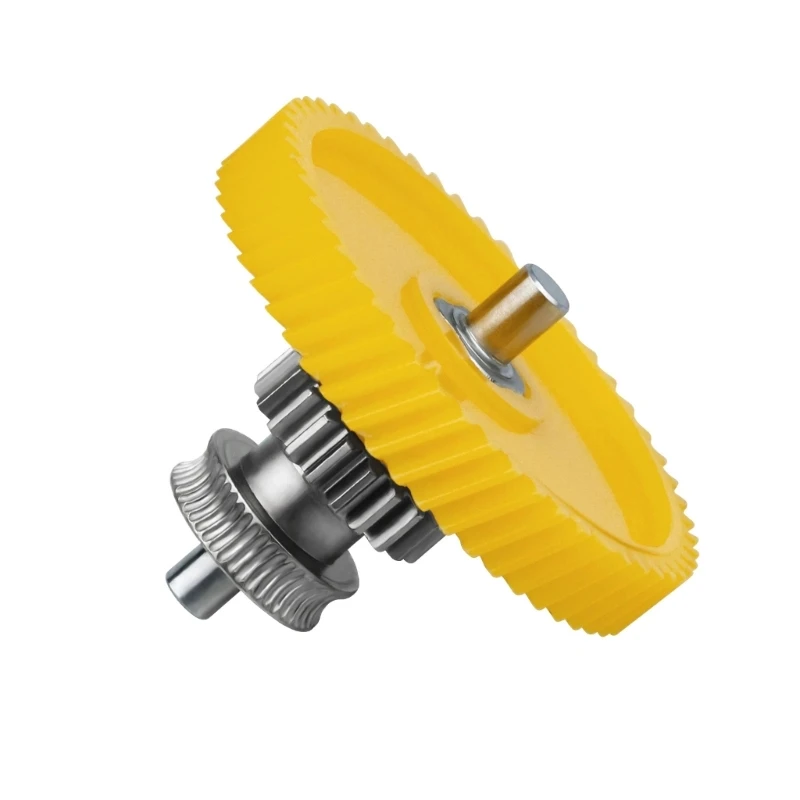
- Gently, remove the upper cover to reveal the internal gears
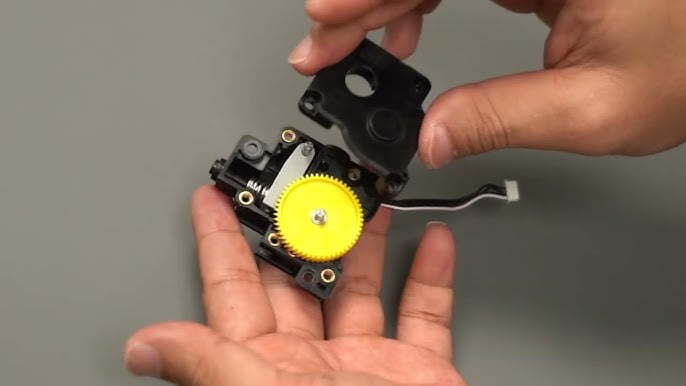
Clean the gears
- Loosen the small spring and remove the toothed wheel
- Remove the counter-engineering
- Clean the gears and other internal parts with isopropylic alcohol and a used toothbrush
- Dry all the parts well before reassembling them
Lubricate the gears
- Apply a thin layer of PTFE lubricant to the gears
- Make sure all the surfaces of the gears are uniformly lubricated
Go up the extruder
- Replace the toothed wheel and counter-engineering
- Return the spring to place and fix it with the screw
- Replace the upper cover and fix it with the four screws
Complete replacement of the extruder
If the maintenance is not enough or if the extruder is damaged, you can make a complete replacement.
Dismantle
Follow the disassembly steps above to remove the extruder.
Install the new extruder
- Place the new extruder in its accommodation
- Reconnect the extruder cable
- Attach the extruder with the 3 screws
- Return the hotel in place
Disassembly accessory
To facilitate disassembly, you can use the accessory available on Makerworld: [Link to the accessory] (https://makerworld.com/models/224756)
Put the extruder back in place
- Reconnect the extruder cable
- Follow the steps in the video “Change the nozzle on a 3D bambulab” printer to put the extruder back in place
Extruder calibration
After maintenance or replacement, it is important to calibrate the extruder:
- Turn on the printer and select the “Calibration” option from the menu
- Follow the instructions on the screen to calibrate the extruder
- Perform a print test to check that the extruder is working properly
Advice and precautions
Security
- Be careful when handling the gears because they can be cutting
- Do not use too much lubricant, as it could cause gears to skating
- Work in a clean environment to avoid contamination
Preventive maintenance
- Perform regular extruder maintenance (every 3-6 months depending on the use)
- Monitor abnormal noises that could indicate a problem
- Regularly check the condition of the gears
Technical support
If you encounter difficulties in dismantling or raising the extruder, do not hesitate to contact the technical support of Bambu Lab.
Conclusion
By following this complete guide, you should be able to disassemble, clean, lubricate and replace the extruder of your 3D Bambu Lab printer.
A regular maintenance of the extruder can:
- Solve extrusion problems
- Improve the quality of your impressions
- Extend the life of your printer
- Avoid expensive breakdowns
Do not forget to always make a calibration after any intervention on the extruder to guarantee optimal results.