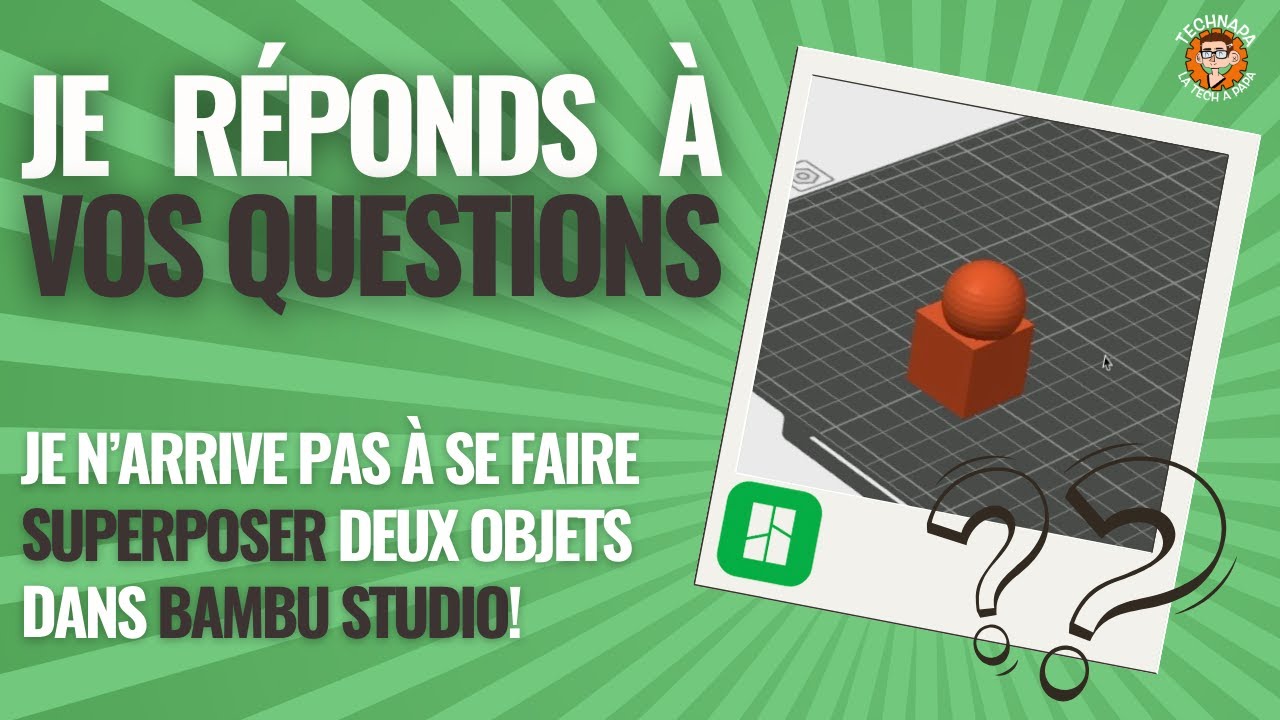
Bambu studio: how to superimpose and merge objects for 3D printing
How to superimpose two objects in Bambu Studio, for example to merge them before printing them in 3D?
If you have already tried to move an object above another in Bambu Studio, you have probably noticed that it systematically falls.
I will reveal my tip to get around this problem.
The problem: the virtual severity of Bambu Studio
When you try to move an object (for example a sphere) above another (a cube) using the movement tool, the upper object “falls” systematically on the print plate.
It is therefore impossible to overlap or nest them intuitively.
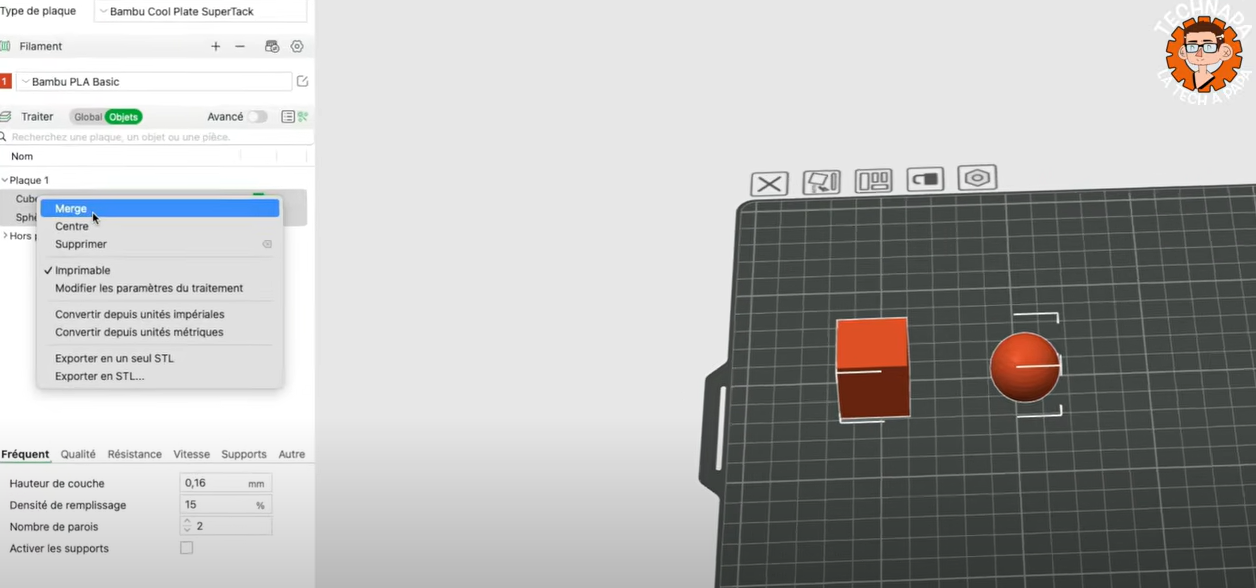
Merge objects with “Merge”
The key lies in the “Merge” function (merger) of Bambu Studio (equivalent to “assembling” in Prusaslicer).
Here are the steps:
Go to “Object” mode: top left of the interface, click on “Global” to go into “Object” mode.
You will then see the list of the different objects present on the set.
Select objects:
Method 1: Click on the first object in the list, then hold the “SHIFT” key (Shift) and click on the second object.
Method 2: Hold the “SHIFT” key (Shift) and, using the mouse, draw a selection rectangle encompassing the two objects.
A green frame appears to indicate the selection.
Merge: right click on one of the objects selected from the list (in the left column) and choose “Merge” from the context menu.
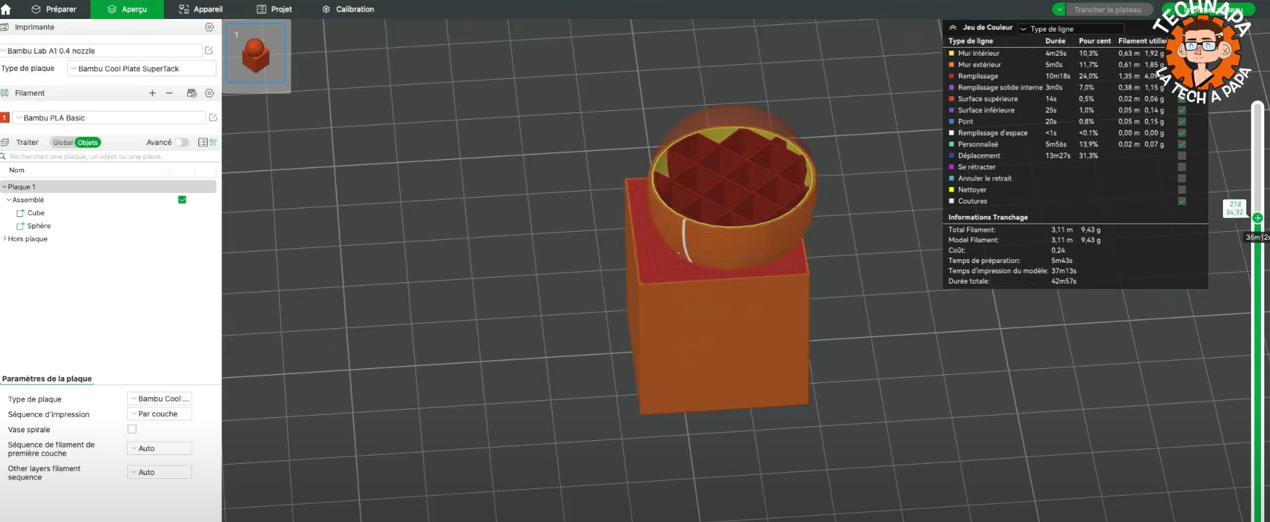
The result: solidarity objects
Once the objects have been merged, they behave as a single object.
You can now move one of the objects and position it above or inside the other without it falls.
You can move the sphere above the cube, and even inside, without it falling on the tray.
Demonstration by Slicing
To prove that objects are well considered as a single block, just launch the Slicing.
The result clearly shows that the sphere and the cube are nested one in the other, ready to be printed in one room.
Practical applications
This technique is extremely useful in many cases, for example:
Assemble complex parts: if you have a 3D model made up of several distinct parts (like a character and his base), you can assemble them in Bambu Studio before printing them.
Create nested objects: you can nest shapes to create unique and complex designs.
Modify existing objects: you can add elements to an existing object by merging them.
Conclusion: a quick and essential “tip”
This simple tip is a precious time saving for all Bambu Studio users.
It opens up many possibilities in terms of object design and modification for 3D printing.
I hope it will be useful to you!
Do not hesitate to share your feedback from me and share your own tips in the comments.