
Increase the box lighting
The BL LED Controller is a versatile accessory which provides additional lighting in the printing chamber of 3D Bambulab X1 and X1C printers.
This product offers unique feature that allows users to flash their own firmware on it, giving them total control over the LED strip light.
The firmware is open source, allowing users to modify and create their own models and lighting behaviors.
The BL LED controller is able to communicate directly with the printer, ensuring that the LED band light is always synchronized with the printer’s condition.
Overall, it is a precious accessory that improves printing experience and offers increased flexibility to users.
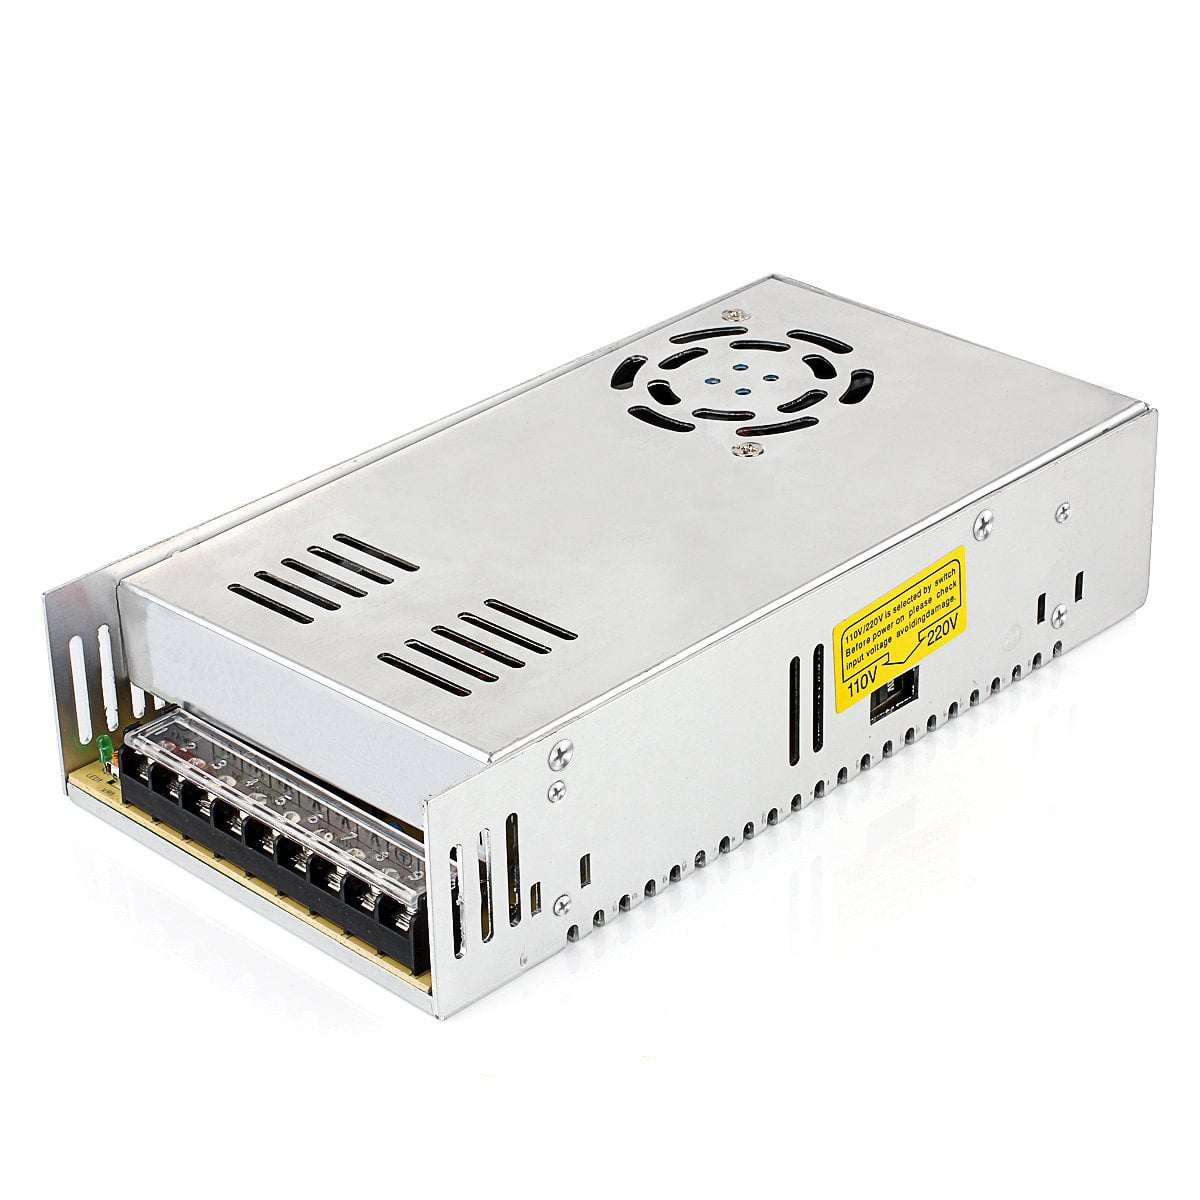
24V transformer
Tipping power supply with LED lighting pilot, AC adapter, 220V, 24V, 1A
Acheter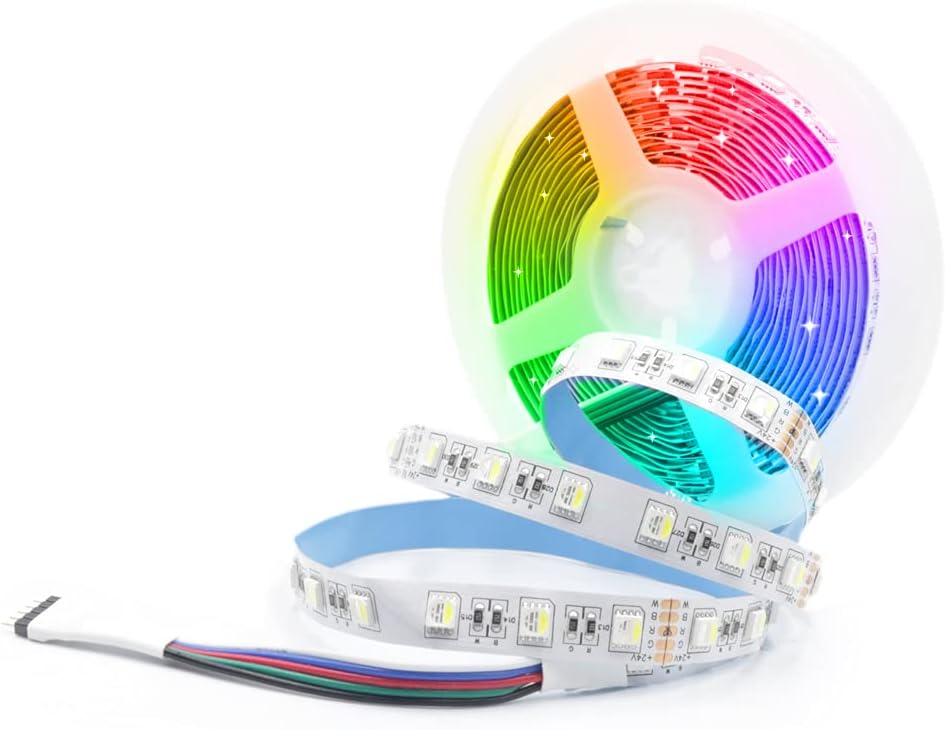
Special offers
Flexible LED light strip, 12mm, PCB, RGBCCT, 5 in 1, 12V, 24V, 5050 RGB + 2835
Acheter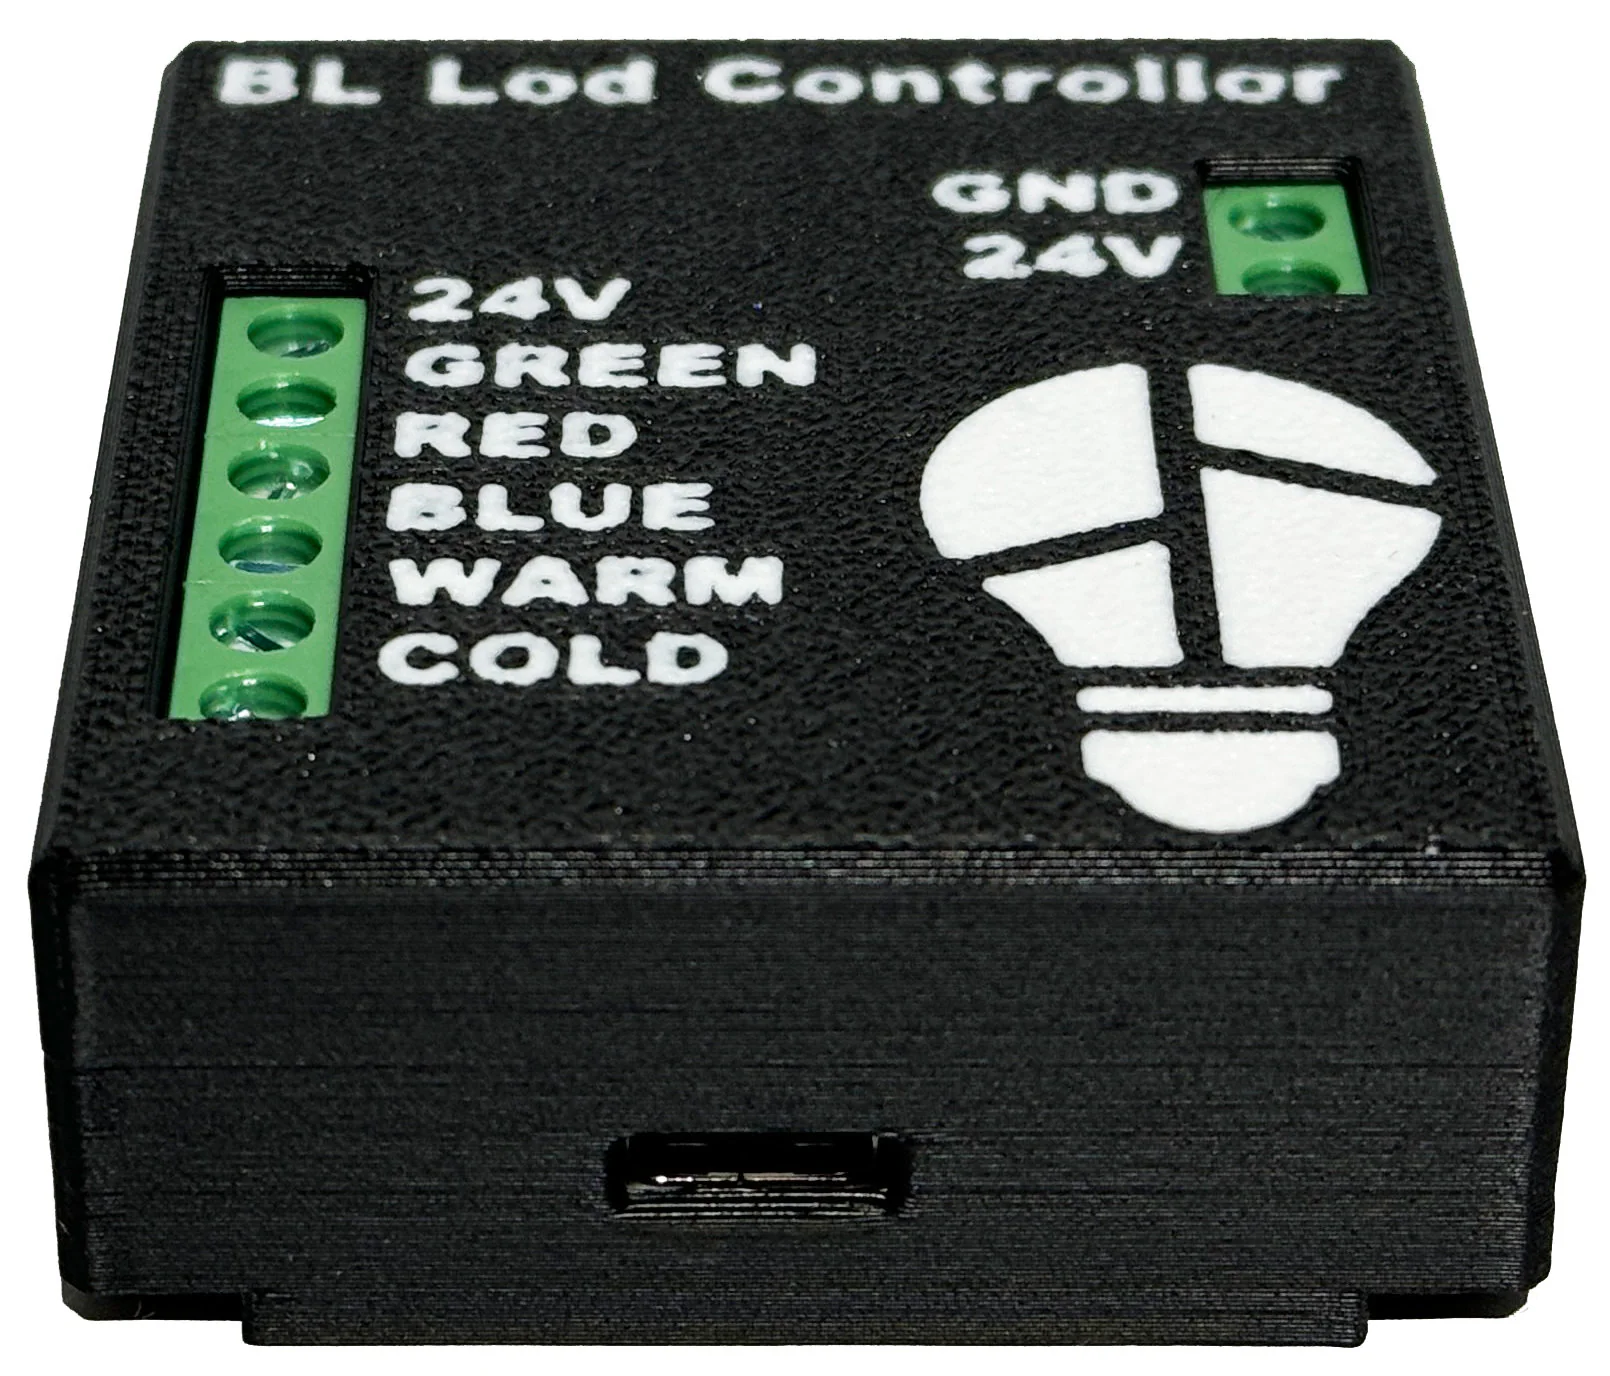
Personalized solutions
Designed with an ESP32
AcheterTo start
Before becoming too excited and wire everything, let’s step back and read the note section below, then first configure the device.
Remove the card from its box using a flat -headed screwdriver to remove the rear cover.
Pull one of the corners to do it.
Connect a micro-USB cable both to your computer and the device.
If you have not already installed it, be sure to install the CH340 drivers, which are mentioned in the flashing section.
[Note]: Make sure the card does not receive 24 V when you connect it to your computer.
? If = v8lbs8xv2aatzf_1
Take out your phone and access Wi-Fi settings.
You should see a new network called “Bambulab Led Controller” appear.
It can take a few minutes to start.
Once you see it, log into this network.
Once you have successfully connected to the “Bambulab Led Controller” network, a page will open on your phone allowing you to configure your Wi-Fi details.
Click “Configure Wi-Fi” to start.
When you click “Configure Wi-Fi”, another page opens on which you can configure your Wi-Fi settings.
You can either select the SSID name at the top, or enter it manually in the SSID entry area.
After entering the SSID and the password, click “Save” to save your settings.
Once you’ve properly seized the details, the “Bambulab Led Controller” network should no longer be visible.
To access the IP address of the device, go to the flashing section of the page, click “Connect”, select the appropriate port, then click “Journals and console”.
Once the page is loaded, press the device reset button and wait for the IP address, the username and the password to appear.
- Until you have obtained the IP address, open your web browser and enter the IP address in the address bar.
You will be directed to a web page where you will need to enter your username and password in step 6.
Once connected, fill in the IP address, access code and serial number in your device in their respective fields.
To find your IP address and access code, click on the gear on the left side of the page, then select “Network”.
Your serial number can be found by clicking on the gear on the left side, then selecting “General”, then “device”.
After entering the necessary information, click “Save” to save your settings.
That’s it!
You have successfully configured the Bambulab LED controller and it is now ready to be connected to the LED strip of your choice and to a 24V sector adapter.
Reset
First of all, you need a serial driver to connect the BL LEd controller to your computer. The devices use a CH340 chip, which can be downloaded [here] (https://www.silabs.com/developers/usb-to—bridge-vcp-drivers)
.
Make sure the right driver is installed.
Connect the device to the computer via a microyeb cable.
Open this page via the Chrome or EDGE browser and click the connection button below
Here is the command to erase the ESP, put in a Windows terminal: Python amy
You will find the files to download here:
Fichier .bin